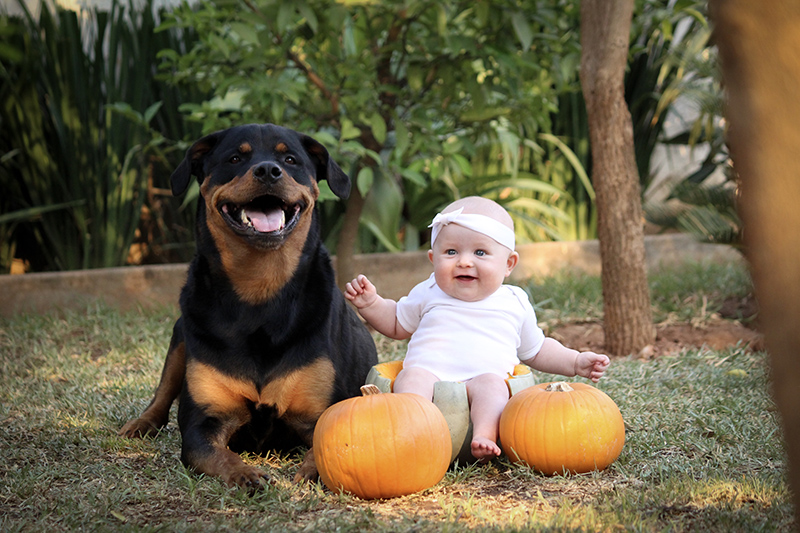
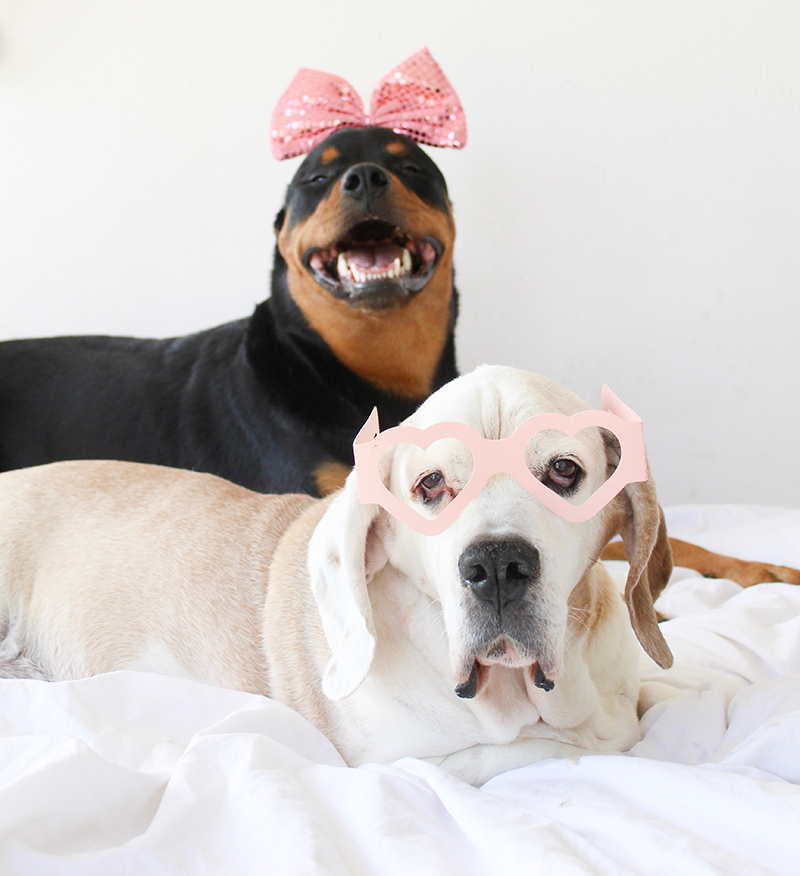
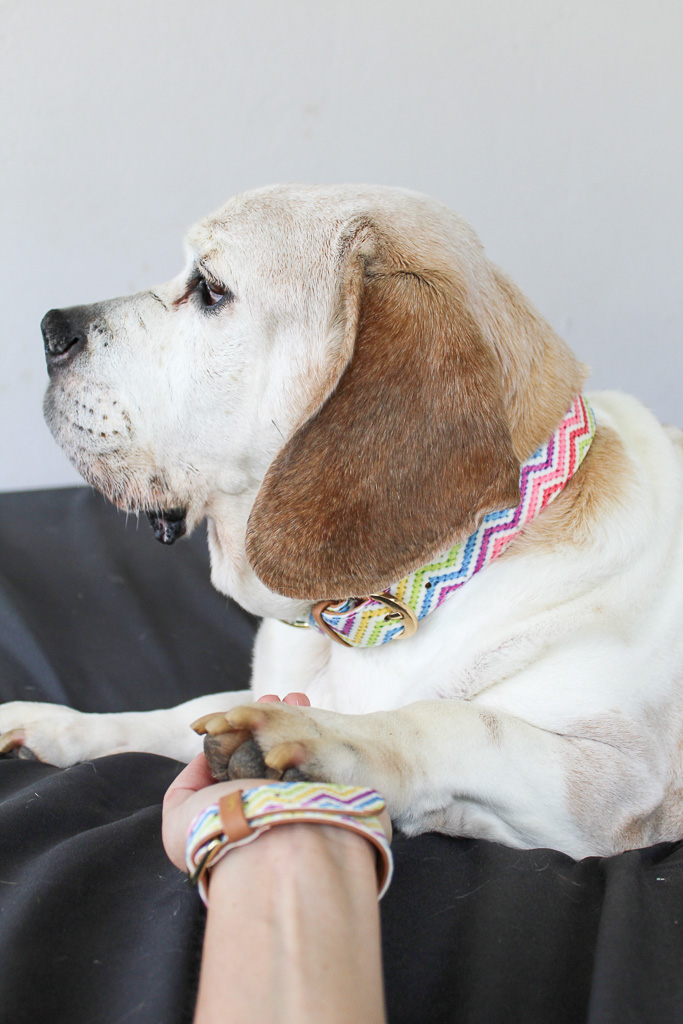
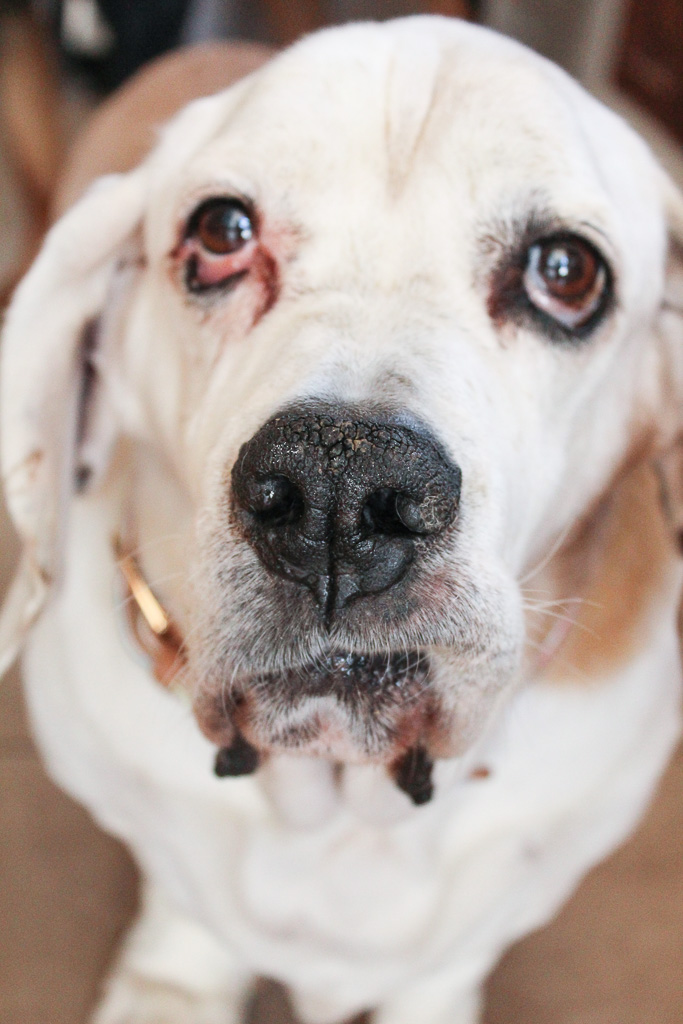
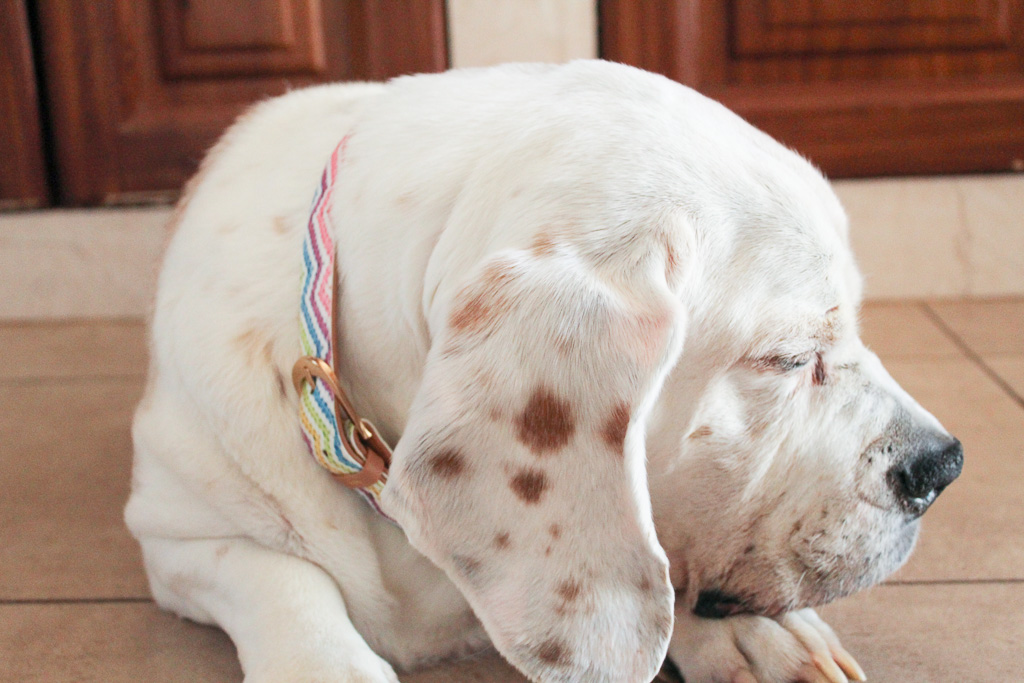
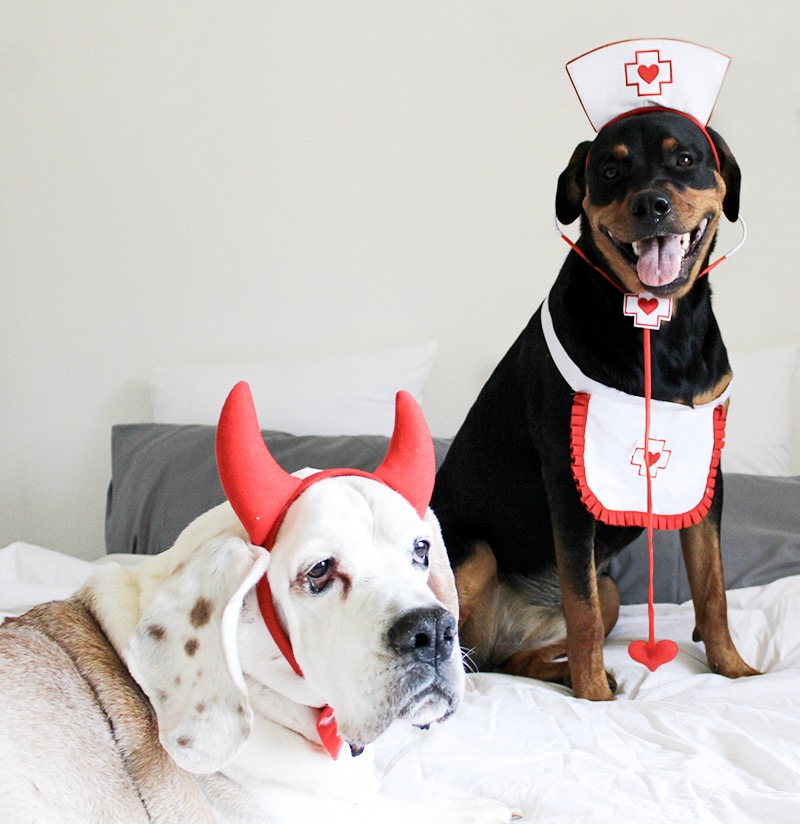
In Africa, we don’t typically celebrate halloween like the USA does but that doesn’t stop us from having a little fun of our own, in the form of dressing up and enjoying some yummy Halloween treats! For those of you that have followed us for a while, will know that Oscar LOVES to dress up and Halloween is one of the best times to dress up in funky fun costumes. Last year Zara was a tiny tot just learning the ropes in the beginning stages of her modelling career. This year she is a real show stopper in her Halloween outfit!
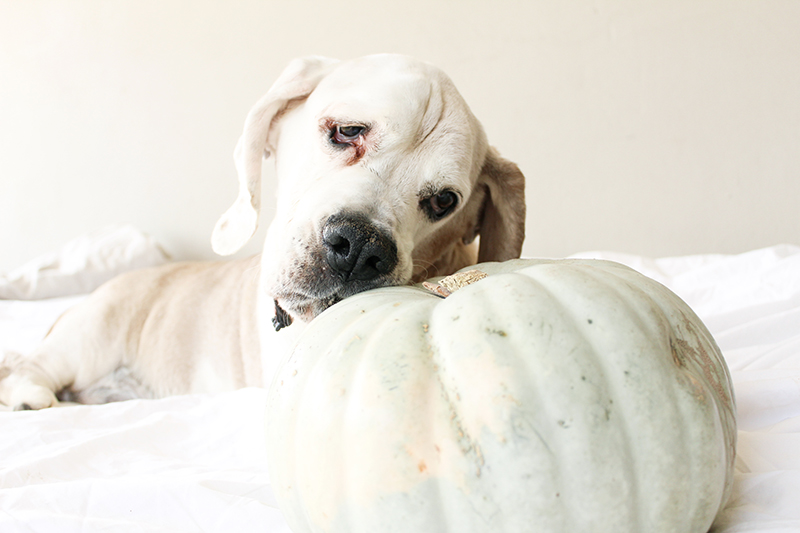
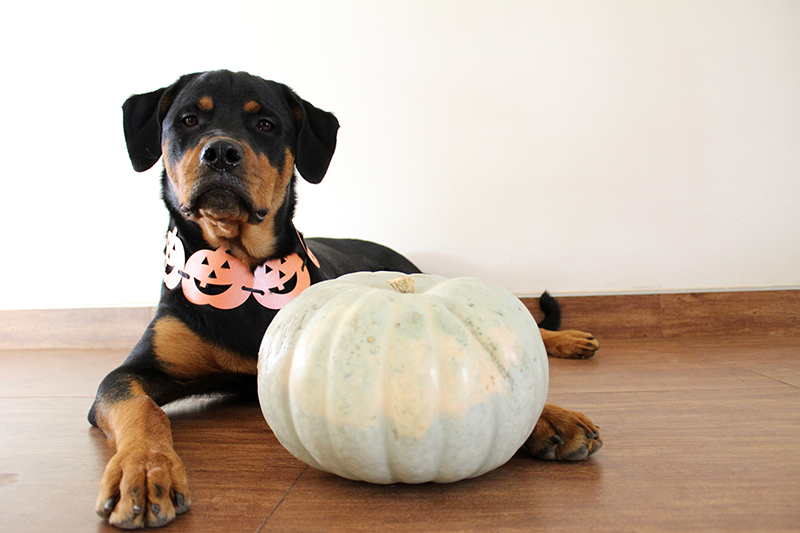
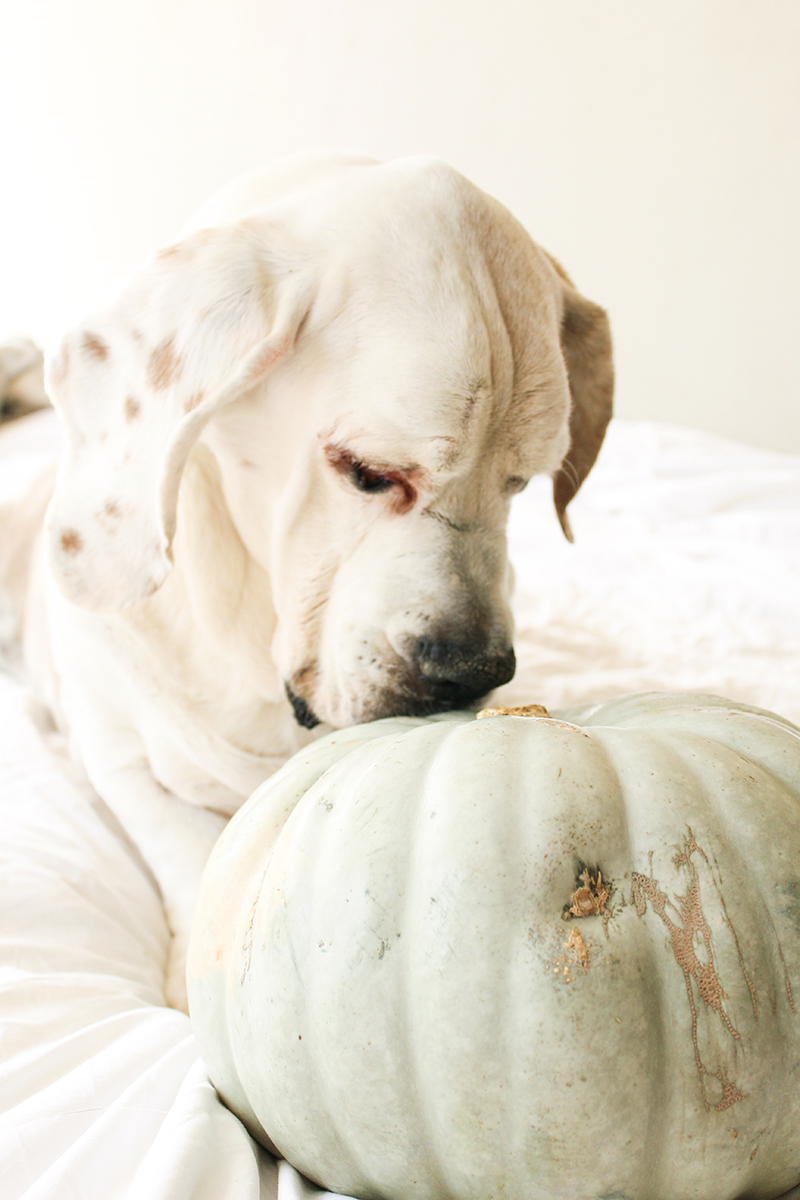
Everyone goes pumpkin mad during the month of October and I managed to get my paws on a lovely one. I gave it to Oscar and Zara as is, to see what they would do wth it… The usual Mr Fusspot decided it looked good enough to eat as it is and went straight in for the kill, much to his disappointment he couldn’t break it open at all. Zara was not sure what it was and happily posed for some gorgeous photos instead!
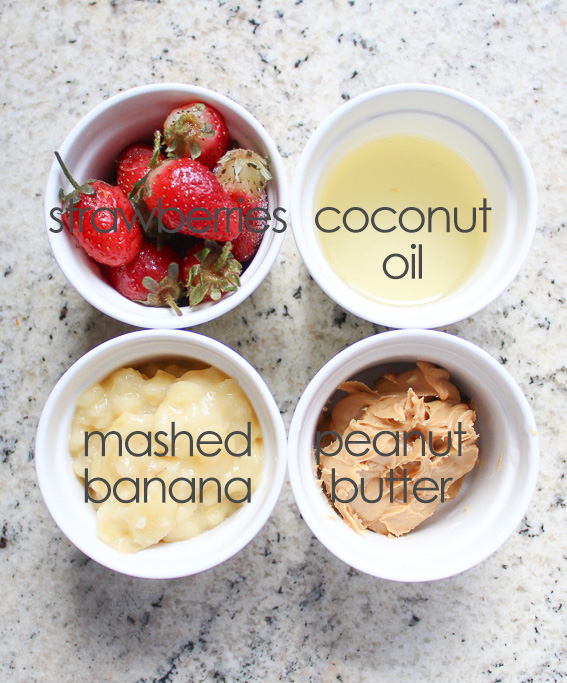
Since we don’t get all the yummy halloween treats you get in the USA, I promised Oscar and Zara I would turn this pumpkin into something yummy for them, and this is what I decided to make….
Pumpkin Spice Puppachinos
Not so long ago I made some puppachinos for Oscar and Zara which they LOVED! (you can see the recipe by clicking here) So I thought why not make a Halloween pumpkin spice puppachino for them. A few of my USA Instagram friends have expressed their love for pumpkin spice latte’s- for humans only. So I decided to make a human pumpkin spice latte for me to enjoy and a pumpkin spice puppachino for Oscar and Zara to enjoy!
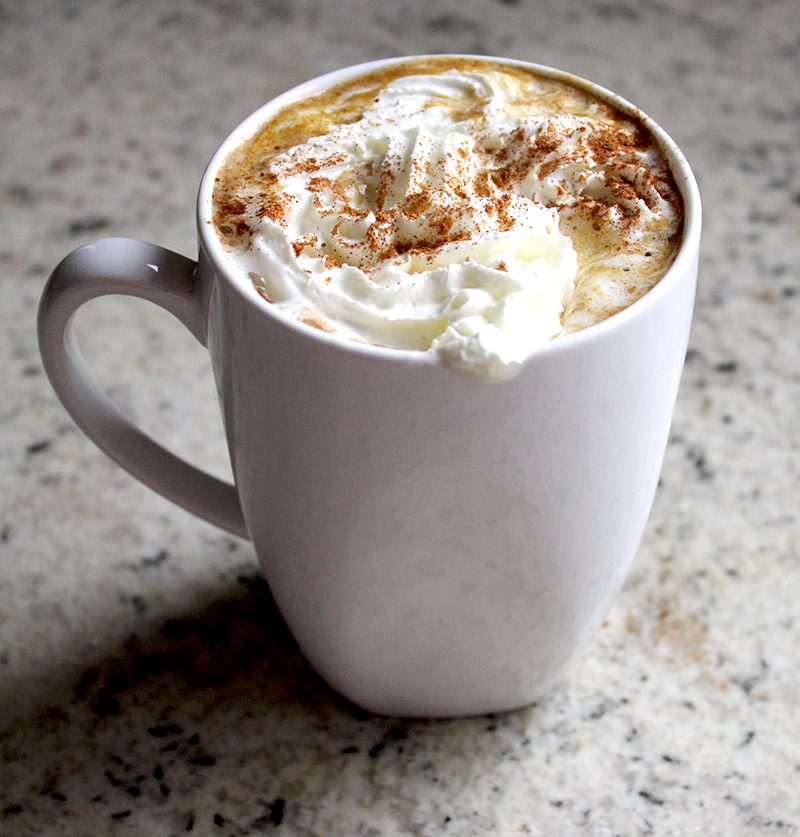
Pumpkin Spice Latte-Human only version:
Ingredients
To make pumpkin spice you will need-
2 tsp cinnamon
1/4 tsp ground ginger
1/4 tsp nutmeg
1/4 tsp cloves
1/4 tsp all spice
Mix these spices together and store in an airtight jar. This makes 1 tbs of Pumpkin Spice mix.
To make the latte-
1 cup coconut milk
2 tbs cooked pumpkin puree
1 tbs syrup
1/4 tsp of the pumpkin spice mix you made
1/4 tsp of vanilla extract
1/4 cup of your favourite brewed coffee
1 can of squirty cream-to use as a topper
Directions
Pour all the ingredients into a saucepan besides the coffee. Heat over a medium heat until hot but not boiling. Keep whisking the mixture so you get a thick and frothy milk mixture. Pour your freshly brewed coffee into a mug, then add the hot coconut milk mixture. Squirt some squirty cream on top and sprinkle over a pinch of pumpkin spice. Put your feet up and enjoy your Halloween treat!
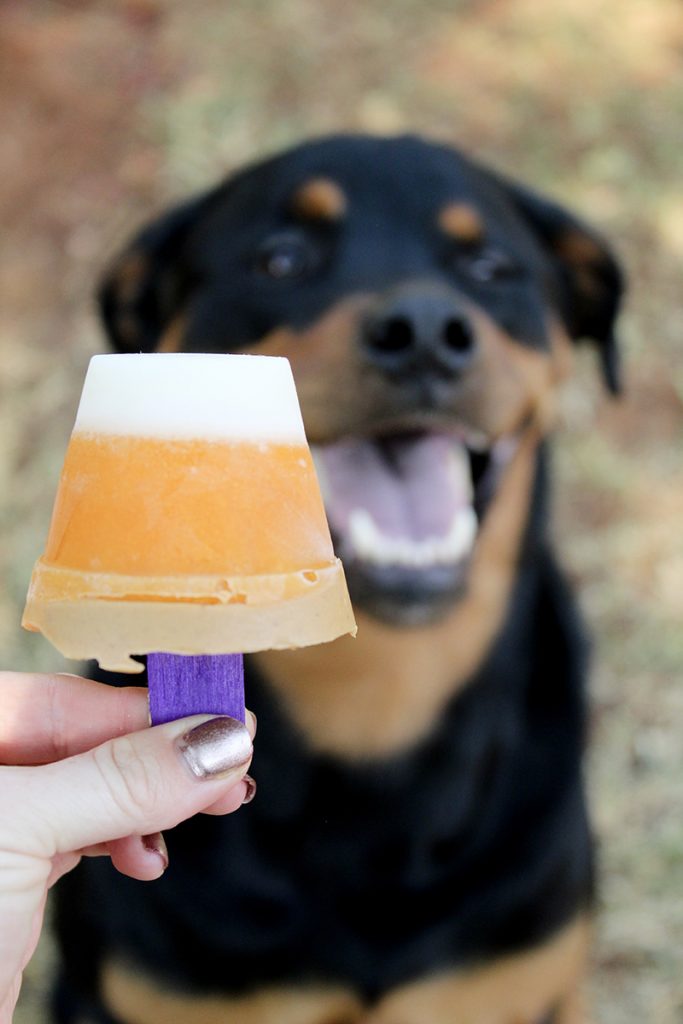
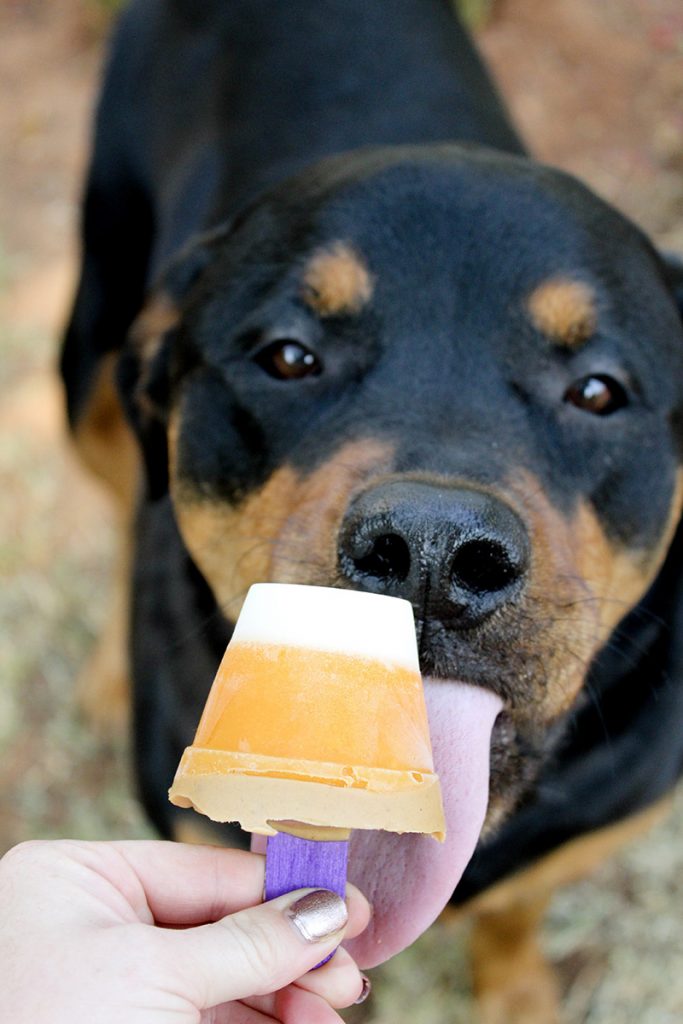
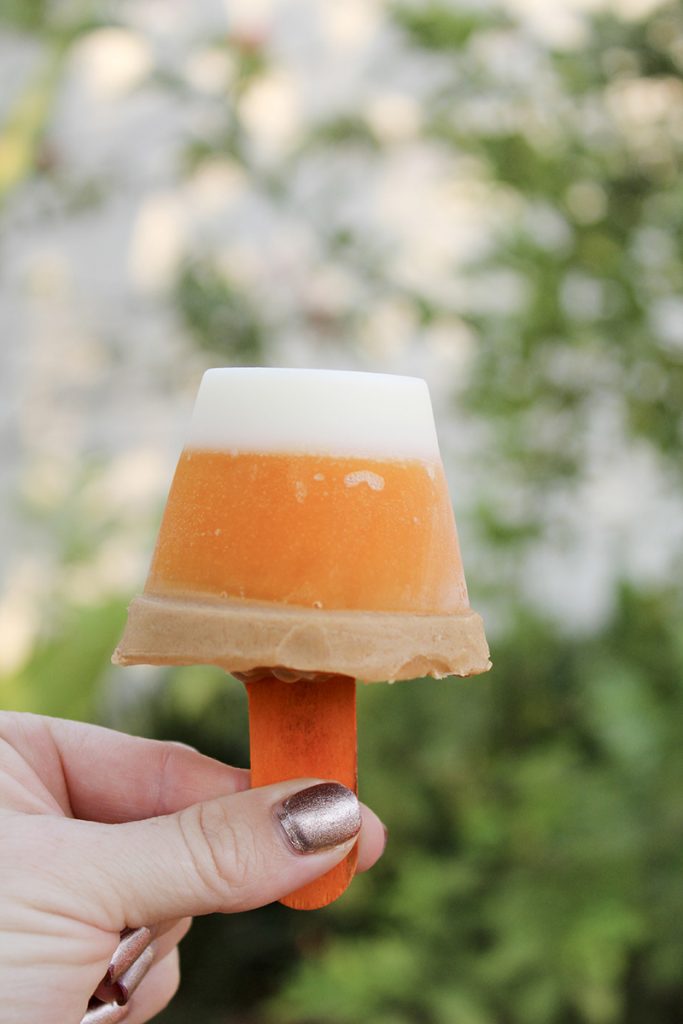
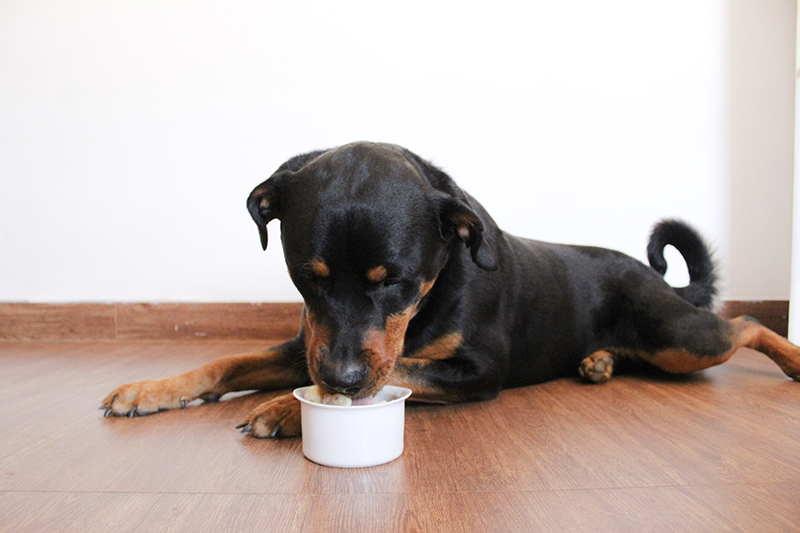
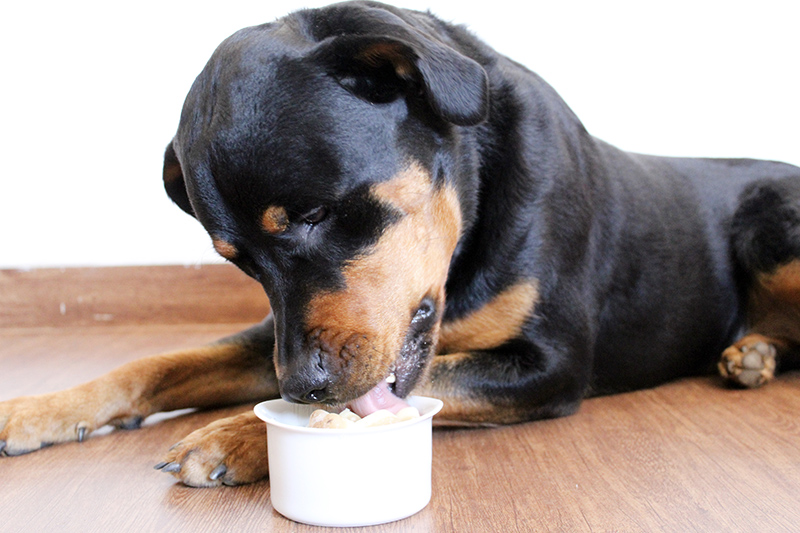
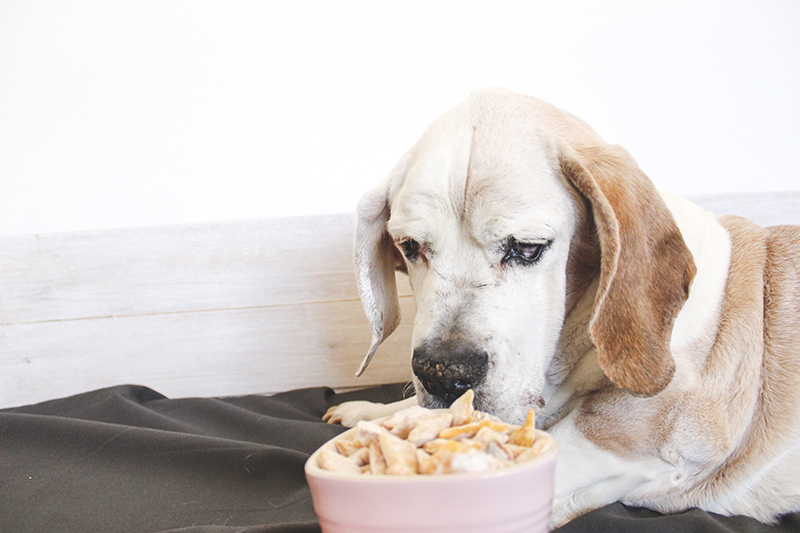
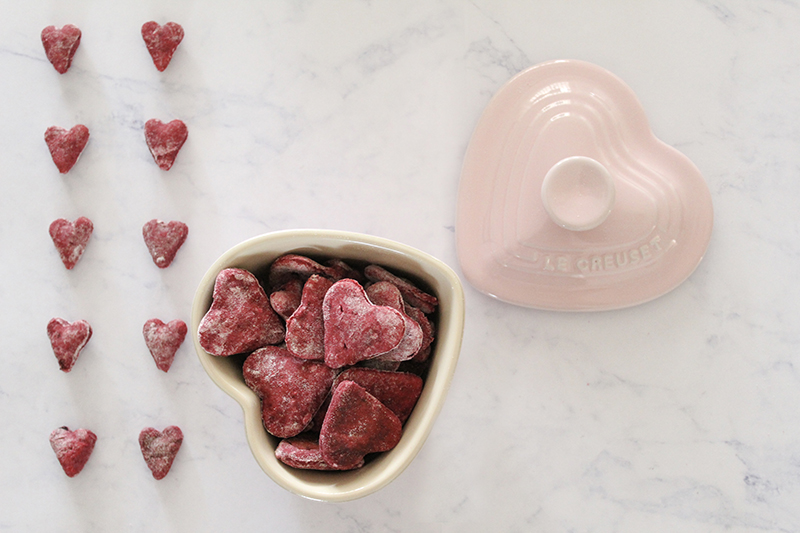
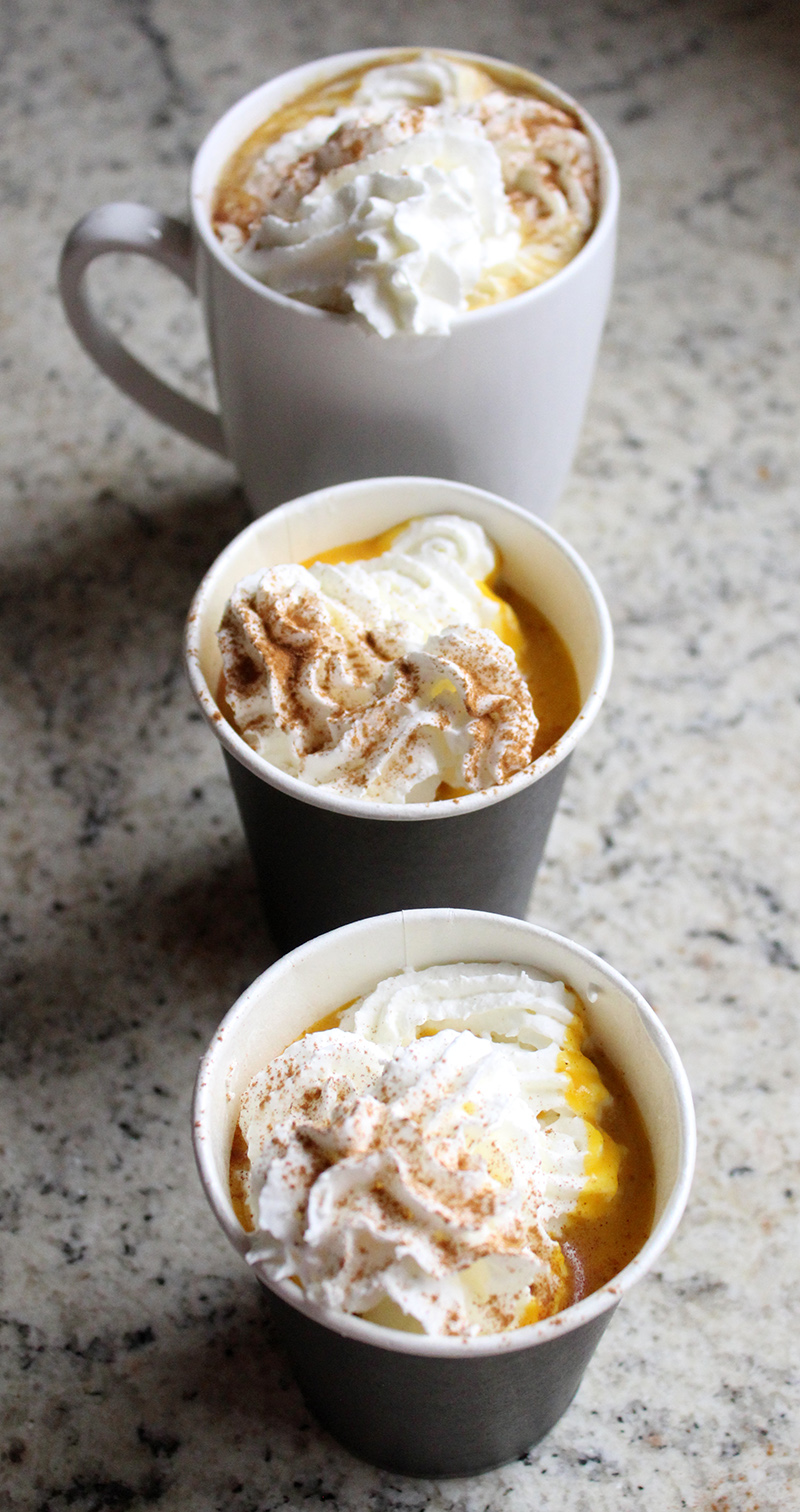
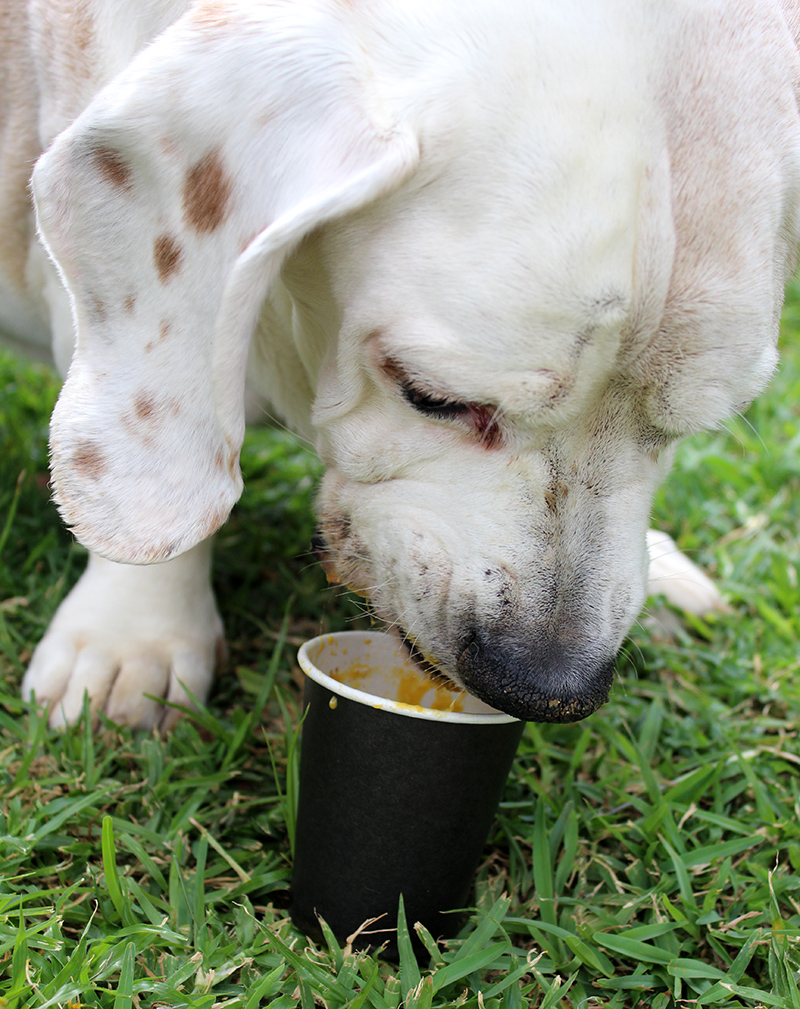
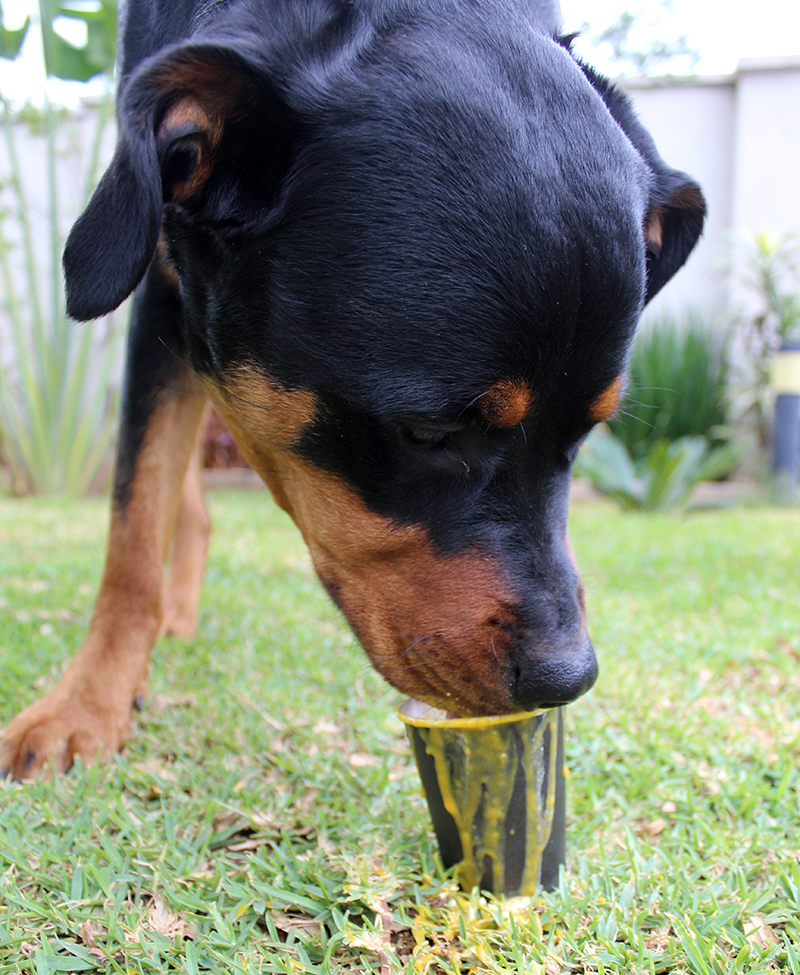
Pumpkin Spice Puppachino
Ingredients
1 cup coconut milk
1 cup cooked pumpkin puree
1/4 tsp cinnamon
Squirt of honey
1/4 tsp vanilla extract
Squirty cream
Directions
Pour all the ingredients into a blender and blend until thick and creamy. Then scoop out the mixture and place it into cute cups for your pups. Squirt some cream on the top-because which pup doesn’t love squirty cream… And watch your pups enjoy!
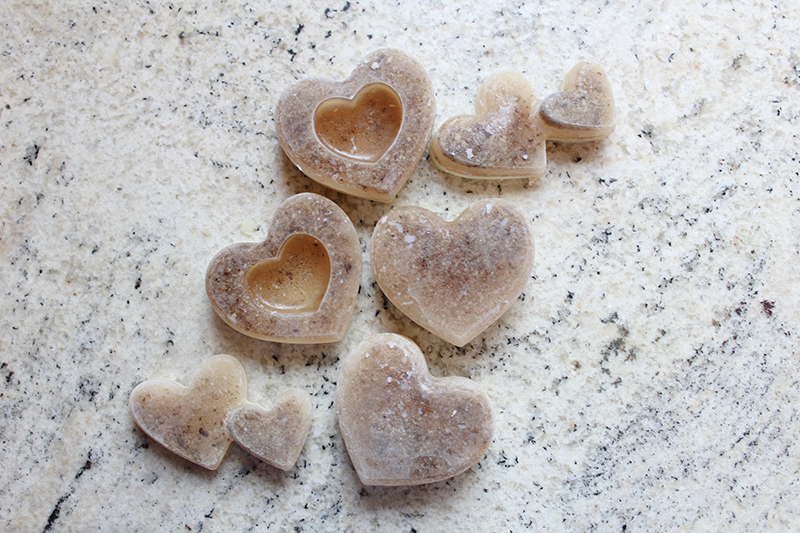
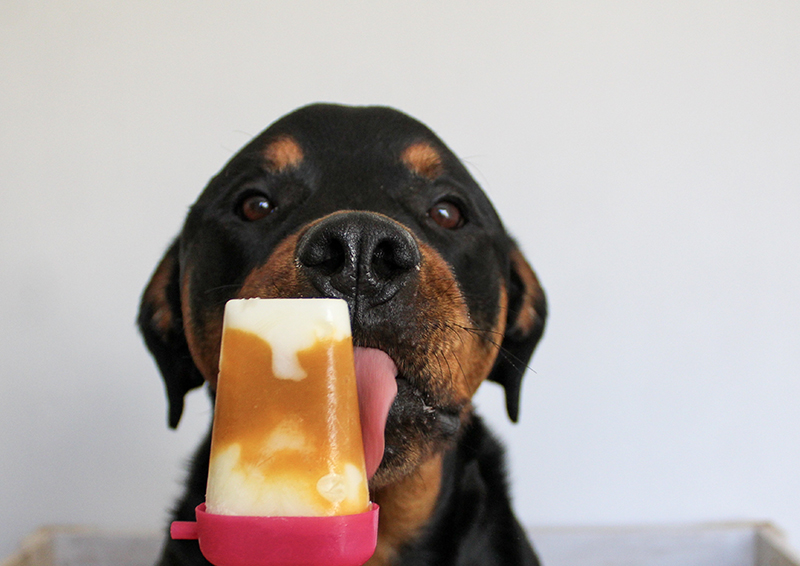
If you have any mixture left over you can spoon it into ice trays and make little frozen treats or fill a Kong toy and freeze for a boredom buster the next day 🙂
Pumpkin Pancakes
Everyone loves pancakes so I decided to make some Halloween pumpkin pancakes for us (the humans) and the pups (Oscar and Zara) to enjoy…
Ingredients
1/2 cup cooked pumpkin puree
2 eggs
1 tsp baking powder
1/2 cup flour
1/2 tsp pumpkin spice mix- Important: When making for the pups please leave this out and replace with plain cinnamon!!!
1/4 tsp salt
1 tbs sugar
1/2 tsp vanilla extract
2 tbs melted butter
1/2 cup milk
Syrup and squirt cream to garnish
Directions
Mix all the ingredients together in a bowl and whisk until completely combined and light and airy. Heat up a pan on a medium heat and spoon the desired amount of mixture into your pan. Cook until golden brown on each side. Serve warm with syrup and squirty cream drizzled over the top. Enjoy!
If you have any pancakes left over, place them in air tight containers and freeze them for another day. Remember to clearly label which are safe for your pups and which are for humans only!!

Happy Howl-o-ween to you and your furry loves! We hope you enjoy these simple and easy Halloween treats as much as we did.

Thank you for reading.


 by
by