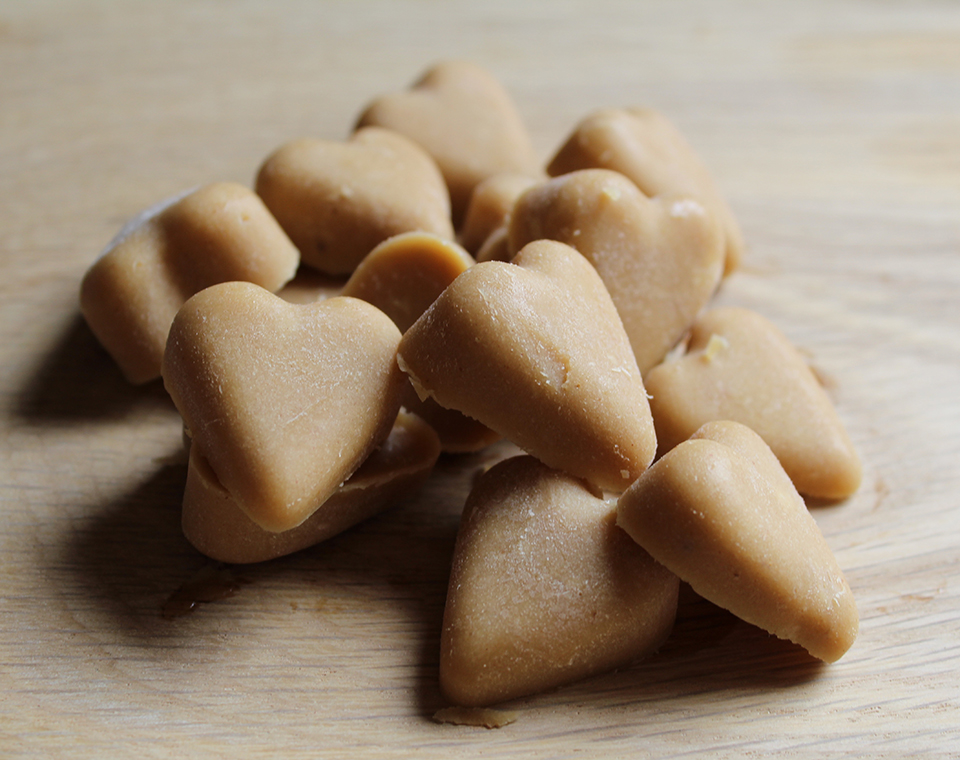
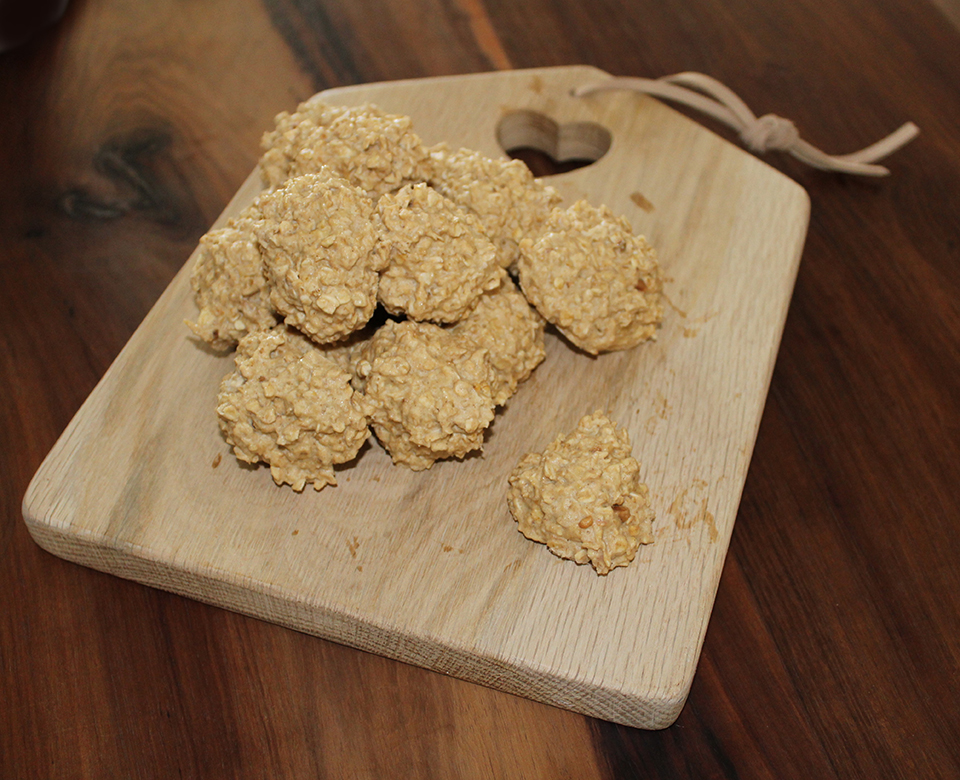
Tag: homemade dog treats

Activated Charcoal Dog Treats – An Update

Activated Charcoal still seems to be everywhere I look, and that is not a bad thing at all. It made me think back to the last time I wrote about Activated Charcoal and whether or not it actually worked…

When I first wrote about activated charcoal and created the recipe for it, I had only done a little research about the benefits but I wanted to test it out for myself.
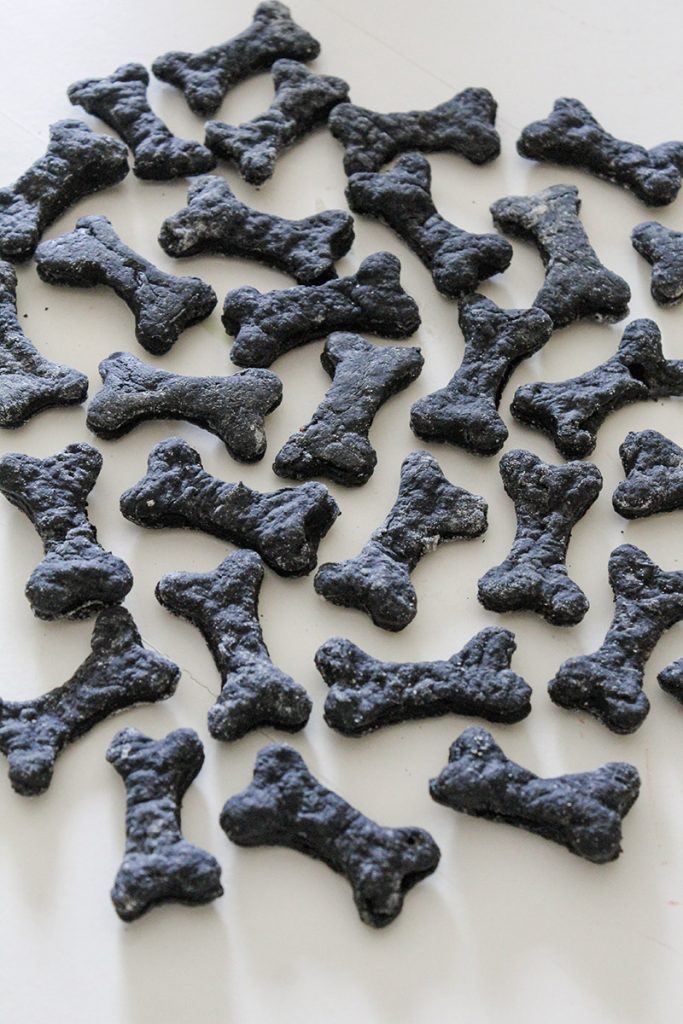
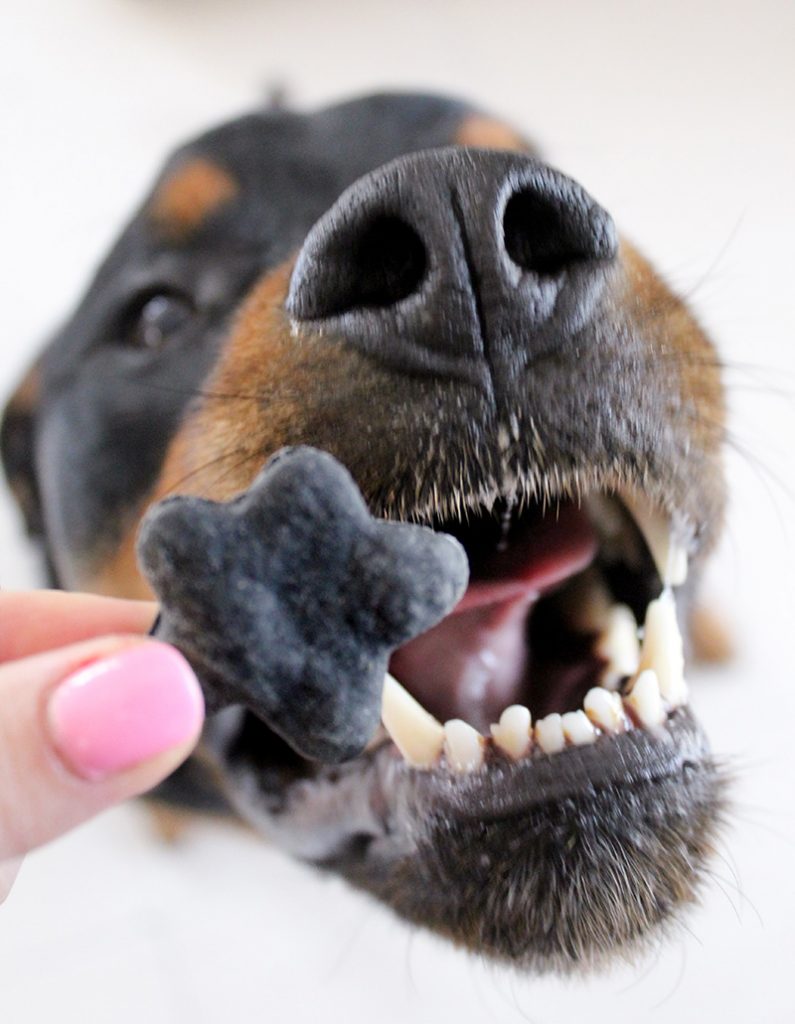
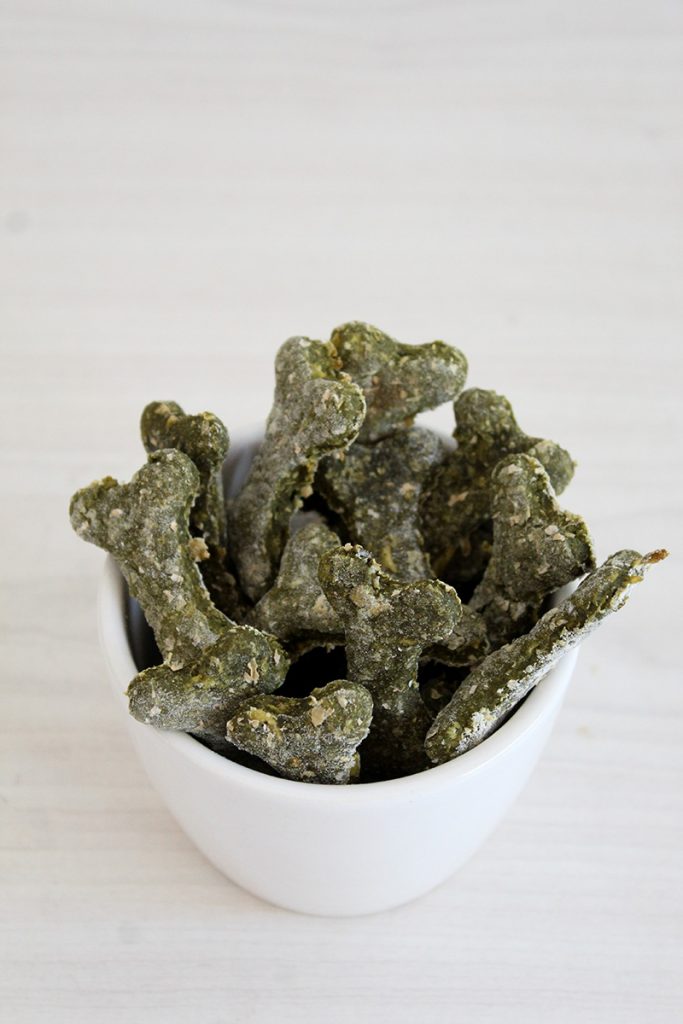
activated charcoal treats

Here’s the thing, my Activated Charcoal treat recipe does work! In fact it worked wonders for Zara’s digestive system. She had noticeably less gas and I feel she digested her food better. 

Her teeth have stayed clean since her doggy dental she had back in September last year and her breath had a neutral smell. 

During the holiday season, Zara didn’t have her special activated charcoal treats and as we all do, she indulged a little too much in all the good things in life. Her gas levels were at an all time high, she wasn’t digesting her food very well which resulted in lots of farting, burping and some vomiting too. And her breath just smelt different. 
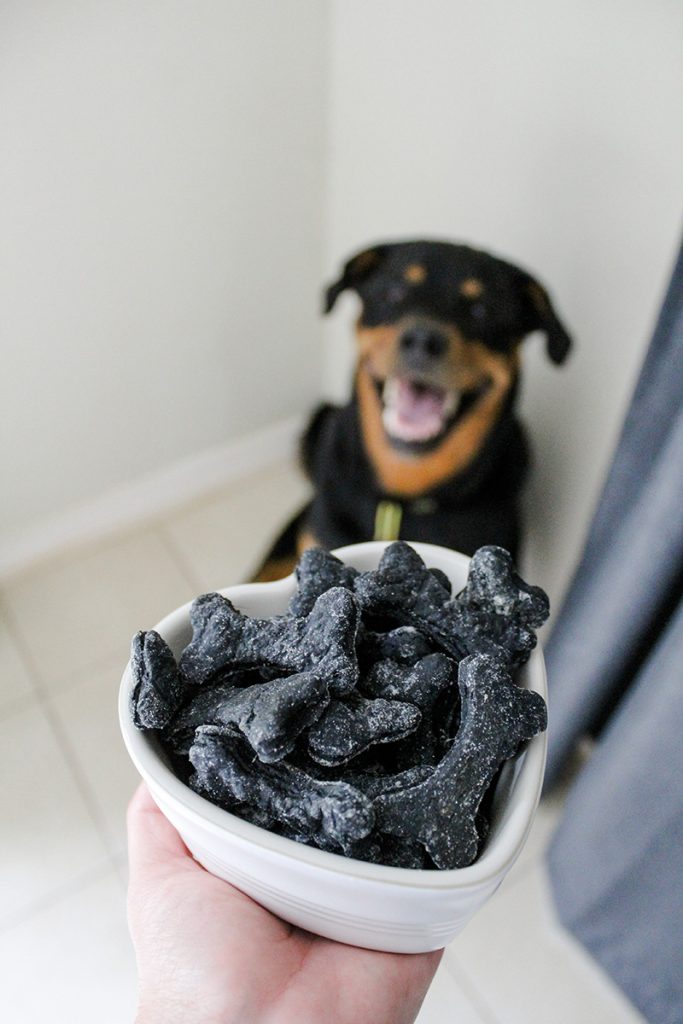
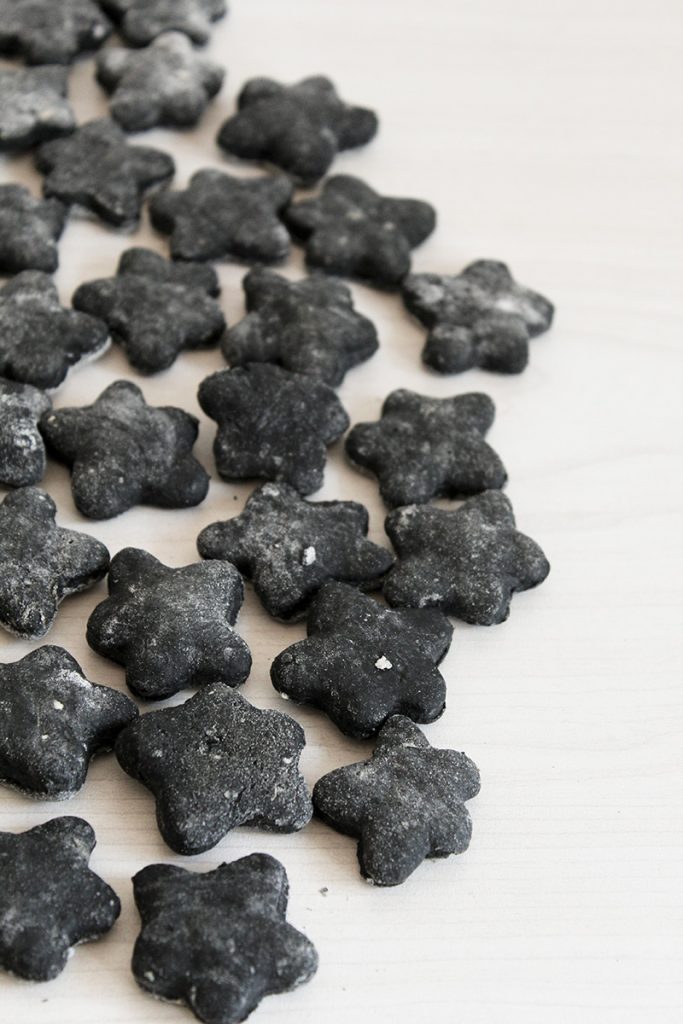
activated charcoal dog treats

It then dawned on me what the difference was a few months ago so I got to work in the kitchen and baked her a huge batch of activated charcoal dog treats again! Recipe below:

Activated charcoal dog biscuits

I doubled this recipe so that I have enough to last a while. I pop the baked treats into ZipLock bags and put them in the freezer. I take 3 out every night for Zara, they defrost within 30mins 😉

Ingredients

2 cups flour of your choice (rice, oat, wholewheat etc)

1 egg

1/2 cup milk of your choice (cows or coconut)

2 tbs coconut oil

1 banana mashed

1/4 cup activated charcoal

Directions

Preheat your oven to 200 degrees. Mix all your ingredients together in a bowl until a nice dough forms. If it is too sticky then add some extra flour. Once you have your dough, roll it out onto a floured surface and using cookie cutters of your choice cut out your doggy treats. Place them onto greased baking trays and bake for 20 minutes or until cooked. Remove from the oven and allow to cool before letting your pooch enjoy. 
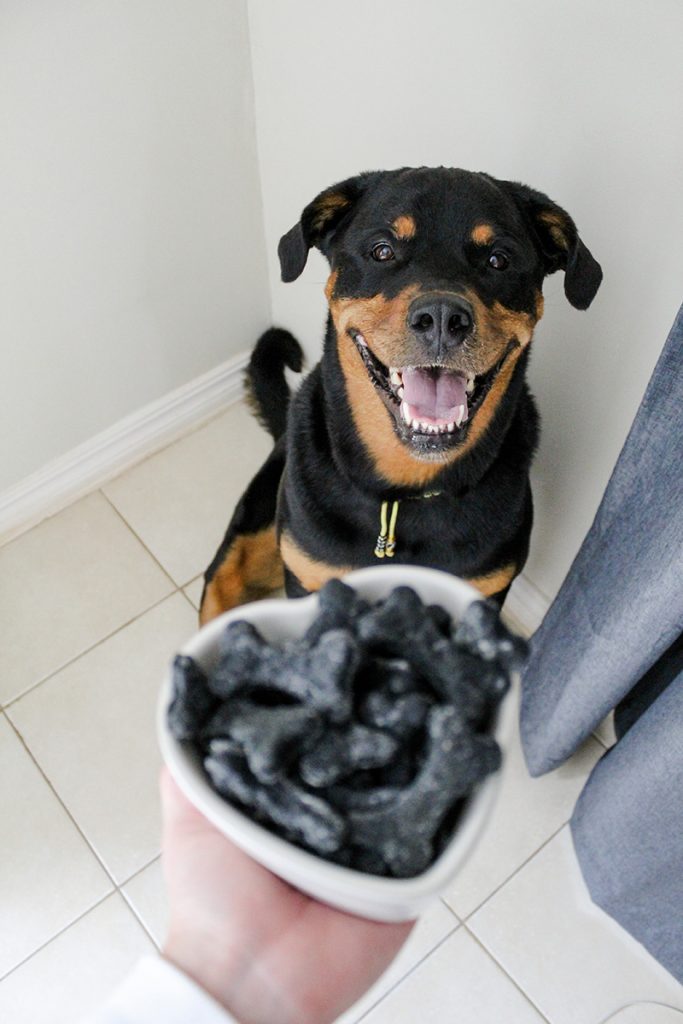
homemade charcoal dog treats

I really hope these treats help your pooch as much as they help Zara. Tag us in your baking posts 🙂 @stylish_paws

Thank you for reading

Facebooktwitterpinterestlinkedinby feather

Activated Charcoal Dog Treats

Activated charcoal seems to be everywhere and in everything at the moment so I wanted to do a little more research into how it can benefit Zara in the form of activated charcoal dog treats.

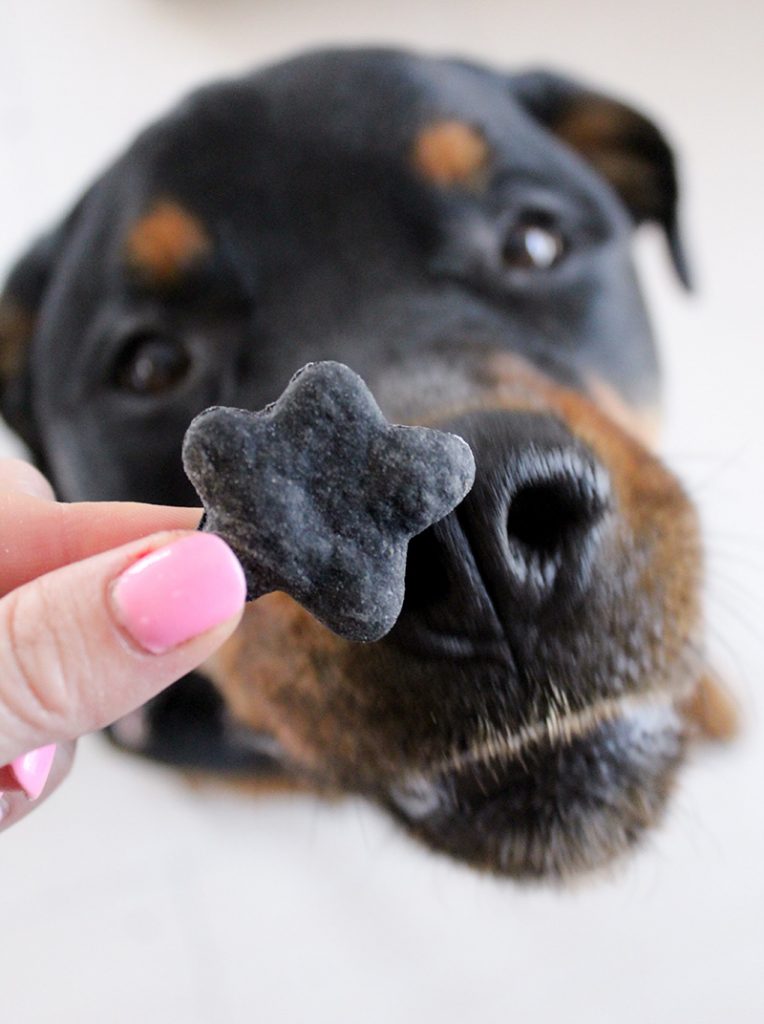
homemade activated charcoal dog treats

Zara had a full doggy dental done last week, not because her teeth were in terrible condition -Dr Sally actually said they look great but a doggy dental session will make them look fabulous and who doesn’t want fabulous teeth!

I wanted to know how activated charcoal could help Zara stay healthy from the inside which means a healthy digestive system, no doggy breath and of course beautiful healthy white teeth and this is what I found…

homemade dog treats

The main use for activated charcoal has always been to treat poisonings, however vets all over the world have experimented more and more with this supplement and it turns out it can be a healthy supplement to add to your pets diet. Activated charcoal cleanses the body and gets rid of toxins. The build up of toxins often results in our furry loves releasing gas and having bad breath. Zara doesn’t have doggy breath at all but there is room for improvement on the gas releasing side- haha, so I am curious to see if these activated charcoal treats make any kind of difference. 

Activated charcoal dog biscuits

Ingredients

2 cups flour of your choice (rice, oat, wholewheat etc)

1 egg

1/2 cup milk of your choice (cows or coconut)

2 tbs coconut oil

1 banana mashed

1/4 cup activated charcoal

Directions

Preheat your oven to 200 degrees. Mix all your ingredients together in a bowl until a nice dough forms. If it is too sticky then add some extra flour. Once you have your dough, roll it out onto a floured surface and using cookie cutters of your choice cut out your doggy treats. Place them onto greased baking trays and bake for 20 minutes or until cooked. Remove from the oven and allow to cool before letting your pooch enjoy. 

activated charcoal dog treats
activated charcoal

These treats are the most awesome colour ever! Something different for Zara to enjoy 🙂 

If you decide to make some for your pups too, be sure to tag us on Instagram @stylish_paws

Thank you for reading
Facebooktwitterpinterestlinkedinby feather

Moringa Dog Treats

Moringa, the superfood you should be including in your pets diet as well as your own. Boasting endless reasons why it’s so good for you… Jam packed with vitamins, minerals, antioxidants as well as anti-inflammatory properties, this is a superfood you want to be taking. 

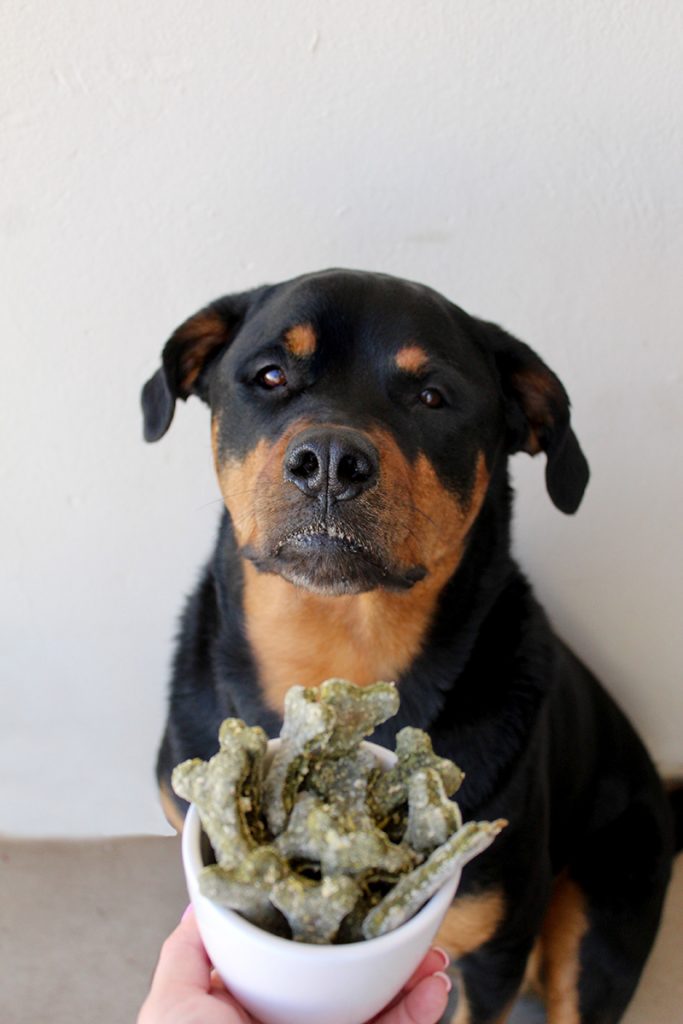
dog treats

By now you all know that Zara has had TPLO surgeries on both her knees so I am always on the lookout for natural remedies that will help her in any way and Moringa seems to have plenty to offer her. 

I started taking Moringa capsules myself and decided to do a little more research into its benefits. I was totally blown away by what I discovered. It is said to have 15 times more potassium than bananas, 12 times more vitamin C than oranges, 25 times more iron than spinach and 9 times more protein than plain yoghurt, the list goes on! It comes in capsules, powder and tea which is delicious with some honey and lemon added to it. 

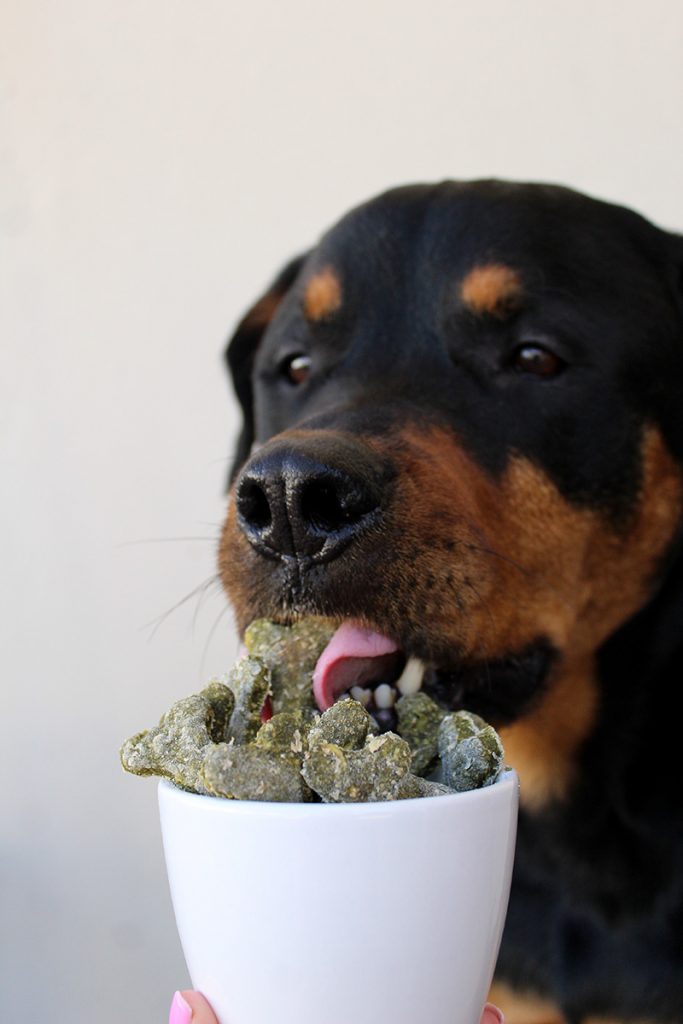
dog treat recipe

With all this goodness in one superfood, I thought why not try it out on Zara. I bought some Moringa powder and began experimenting with ways in which she will eat it. It turns out simply sprinkling it over her kibble doesn’t do it for her so I had to get creative and find a way she can get enough if this incredible superfood each day. 

As you know Zara gets quite a few treats throughout the day. She gets three special treats every night at bedtime plus one first thing in the morning if she slept all night on her own bed 😉 One of Baby Gia’s favourite things to do is give Zara treats too so I knew the treats had to be yummy enough for Zara to want plenty!!

Moringa Dog Biscuits

Ingredients

1/2 cup moringa powder

1 cup wholewheat flour

A handful of fresh mint leaves chopped finely 

T tbs honey

1 egg

1 apple peeled and grated

1/2 cup water

Directions

Preheat your oven to 180 degrees. Mix together your dry ingredients so the Moringa, mint and flour are nicely combined. Then mix together your egg, apple, honey, grated apple and water then add it to your dry mix. Mix it together until a dough forms. If it’s too sticky add more flour, if it’s too dry add a splash of water. Roll out your dough onto a floured surface and using your chosen cookie cutters, cut out your doggie biscuits. Place them onto greased baking trays and bake for +-25 minutes or until cooked and lightly going golden. Wait for them to cool before letting your pooch enjoy them.

You can batch make these treats and freeze them. 

moringa dog biscuits

Frozen Moringa Dog Treats 

Ingredients

1 tsp Moringa powder

1 cup plain yoghurt

Directions

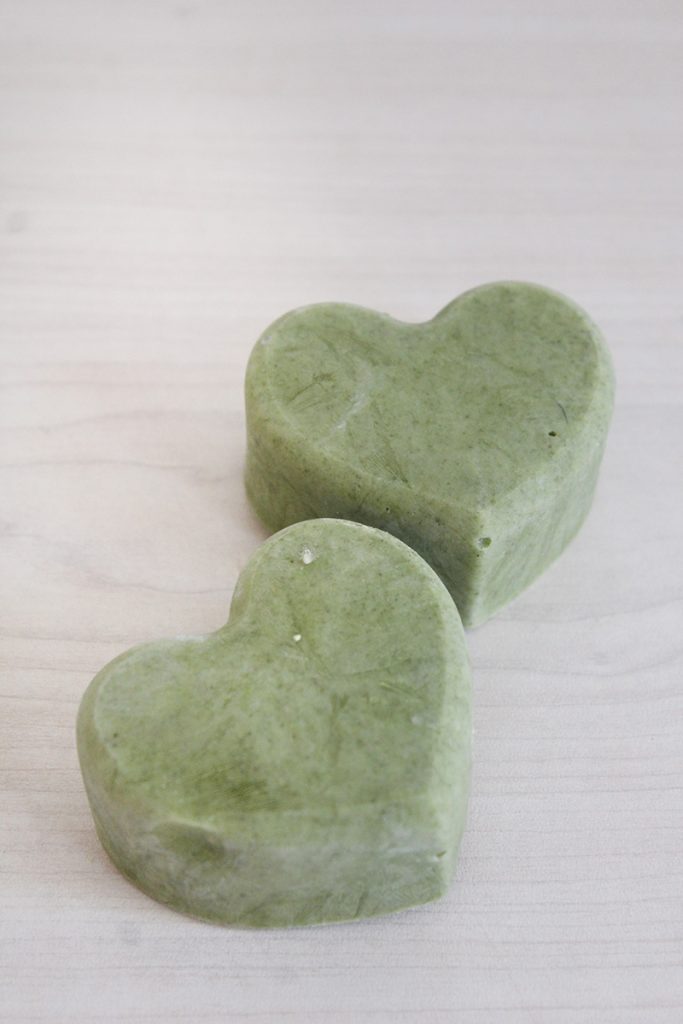
Mix both the Moringa powder and yoghurt in a bowl. Once completely combined spoon into silicone moulds and freeze. These are nice to add to your pups breakfast or dinner or to offer as a frozen treat. 

frozen Moringa dog treats
frozen Moringa dog treat

I hope you find the Moringa superfood as useful as I am right now! Zara is enjoying it as treats, and I’m all for natural remedies that keep her healthy and those legs as pain free as possible!! 

Don’t forget to follow our adventures on @stylish_paws

Thank you for reading.

Facebooktwitterpinterestlinkedinby feather

Happy Valentine’s Day!

Oh how I love Valentine’s Day. You either love it or hate it. Why hate it when it’s the day of love? Those that hate it say “why should I show you how much I love you on just one day”. Easter is one day, Christmas is one day and your birthday is one day, so what’s the difference?

It’s important to show the ones you love just how much you love them all the time, agreed not just on February 14th. But just go with it, enjoy the cliche of small white teddy bears holding red hearts, yummy indulgent chocolates and champagne, and long stem roses that cost an arm and a leg just because it’s Valentine’s Day.

Oscar and Zara know exactly how much they are loved. I tell them everyday basically all day that I love them and I know they understand every word!

Zara is not shy to show me how much she loves me back. Each and every morning she brings me a present. These presents are her toys, her most prized possessions of course, she chooses just one and that’s the gift of the day. This is such a special thing we have going, I wake up every morning wondering which toy i’ll get gifted with. I never taught her this at all, she one day started doing it and it’s now a ritual. Zara is also the queen of kisses. She pins me down (because yes she is stronger than me) and attacks me with her tongue! The love that Zara has is like nothing I have ever experienced, it’s so over the top and just so Zara.

Oscar on the other hand is a little more reserved in his expressions of love. His way of telling me he loves me is by never leaving my side. And I mean never! He follows me all over the house no matter what. I try get up and sneak out the room if he is snoozing (I don’t like disturbing his sleeps) but that nose of his picks up a scent that says “mom has left the room”. He is up like a rocket and finds me in three-seconds flat. He is by far the most loyal steed I have ever encountered. He is one hundred percent devoted to protecting me.

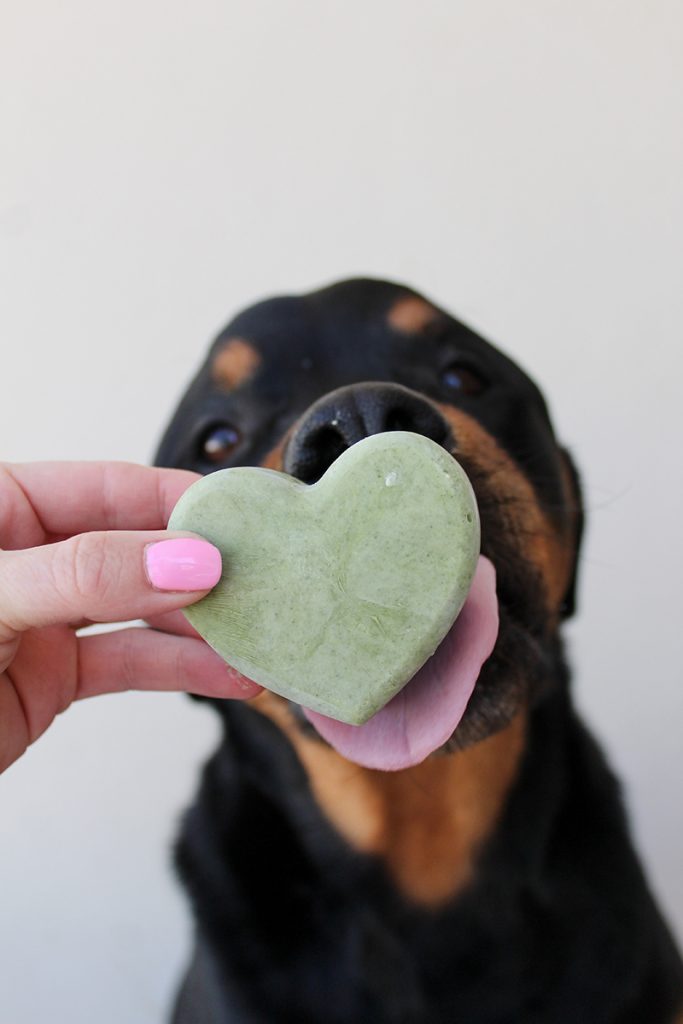
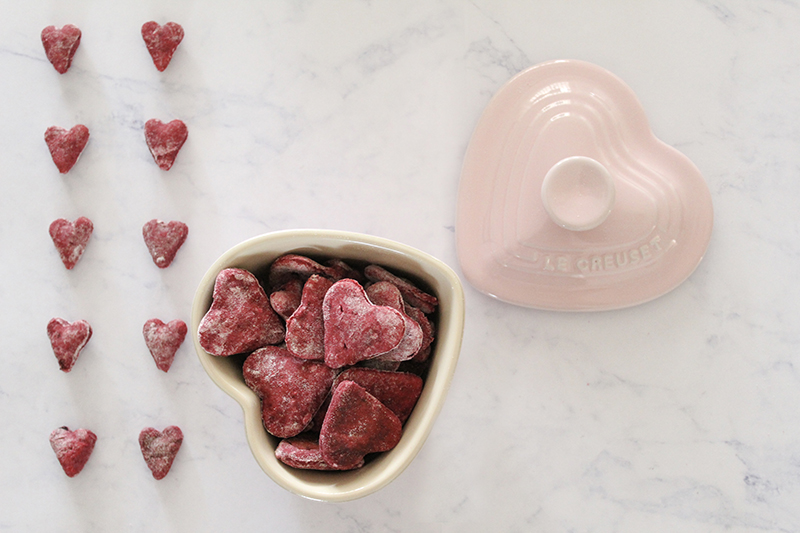
So naturally this Valentine’s Day I have made them some yummy bright red heart-shaped treats to devour….

Valentine’s Day Treats

Ingredients

2 cups beetroot puree

2-3 cups flour

2 tbs coconut oil

1 egg

Directions

Pre-heat your oven to 180 degrees. In a mixing bowl mix together your beetroot puree, coconut oil and egg. Then add your flour one cup at a time until you have a lovely dough. This dough can be slightly soft sticky, as long as you can roll it out it is fine. Gently roll out your dough and using heart shaped cookie cutters cut your treats. Place them on a greased baking tray and bake for +- 30 minutes or until cooked. Remove from the oven and allow them to cool. The bright red colour of these treats is just gorgeous and your pups will LOVE them.

Whatever you decide to do or not do this Valentine’s Day, make sure you let those around you know how much you love and appreciate them. I know I will. <3

Thank you for reading

Facebooktwitterpinterestlinkedinby feather

FriendshipCollar_SA Instagram Take Over: Stylish Paws in the Kitchen.

So this is a first for us and we are very excited about it…. We are taking over Friendship Collar_SA Instagram story for the day.

Firstly, we are huge fans of FriendshipCollar, we of course have our own set of The Top Dog range. It’s bright, colourful and cheerful and looks great on us all 🙂

The Top Dog set is all about being “playful, boisterous and cute as can be, when playtime is over, it’s cuddles next to me”. This description fits us perfectly! Those of you who follow us regularly will know that Zara is a super happy and energetic pup who absolutely loves swimming and playing with all her toys. Oscar on the other hand is a huge snuggle bug and loves to spend his days sleeping right next to me. Zara has learnt a thing or two from the snuggle king and she now loves to snuggle up too, usually on top of me!

For the Instagram Story take over, the theme is “Stylish Paws in the kitchen”. Those of you who know me might laugh hysterically at this. Cooking for myself is not something I love doing at all. In fact I find it a chore. BUT when it comes to finding yummy recipes for my furry loves, i’ll happily spend hours baking, creating recipes and yummy treats for them to enjoy- of course they love it when I’m in the kitchen because they know I am usually cooking or baking for them 😉

Today’s recipes and treats are a winner in our house. They’re super easy with ingredients found in most kitchens and most of all they’re quick! Here goes…

Fresh and Frozen Kong recipes:

I have two totally opposite pooches when it comes to food. Zara literally eats anything and everything! She loves tasting new fruits and veggies and so far the only thing she isn’t keen on is raw eggplant-who eats raw eggplant anyway- and zucchini. Oscar on the other hand will sniff a piece of meat for about thirty-seconds just to make sure it is in fact something good enough to put in his mouth. He is by far the fussiest pup I have ever come across. So, for the two of them to get the full fun experience of a KONG toy, Zara gets a frozen one which keeps her busy for a few hours, and Oscar gets a fresh one because he doesn’t enjoy the ‘coldness’ of the frozen one and would leave it to melt before eating it…

Zara’s Frozen Kong

Ingredients

Scrambled egg-cooked and cooled completely

Cottage cheese

Coconut oil

Chick peas

Directions

You can either layer each ingredient or mix everything together and stuff it inside the KONG toy. Then freeze for a few hours or over night.

Oscar’s Fresh Kong

Ingredients

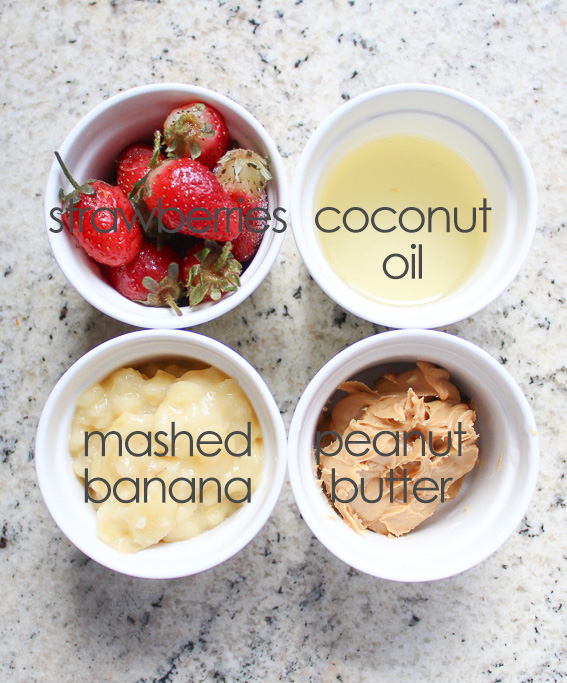
Mashed banana

Peanut butter

Strawberries or blueberries

Coconut oil

Directions

You can either layer each ingredient or mix everything together and stuff it inside the KONG toy, give it to your pooch straight away. Fresh Kong’s are a lot messier than frozen ones so you may want to give it to your pooch somewhere comfortable outside.

The combinations are endless when it comes to Kong toys. You don’t need to rush out and buy special ingredients. Use what you have and be creative with it. Of course please be very mindful of what is safe for your furry love to eat and what’s not!

Baked biscuit recipe: Green Pea

This biscuit recipe is one of my favourites to do because it is so quick and easy to make a batch and we always have the ingredients. Plus the colour of these treats is just awesome…

Ingredients

1 cup frozen peas blitzed up into a puree

1 egg

A handfull of fresh parsley chopped up (optional)

1 cup flour

2 tbs coconut oil

Directions

Pre-heat your oven to 180 degrees. Mix together the pea puree, egg and parsley. Then add your flour and combine until a dough forms. If it is a bit sticky just add a little extra flour. Roll your dough out onto a floured surface and use cookie cutters to cut the treats. Place them onto a greased baking tray and bake in the oven for +-20 minutes or until cooked and just slightly brown (you want to keep their bright green colour). Allow the treats to cool, and store in an airtight container. Your pups will love these!

So that’s our kitchen experience for today, of course we did all this while wearing our super stylish Friendship Collars! Don’t forget to follow us on Instagram @stylish_paws and @FriendshipCollar_SA and watch the story take over- you’ll love it!!

You can also browse the Friendship Collar collection in the Stylish Paws online store | click here to shop. 

Thank you for reading.

Facebooktwitterpinterestlinkedinby feather

Happy St. Patrick’s Day

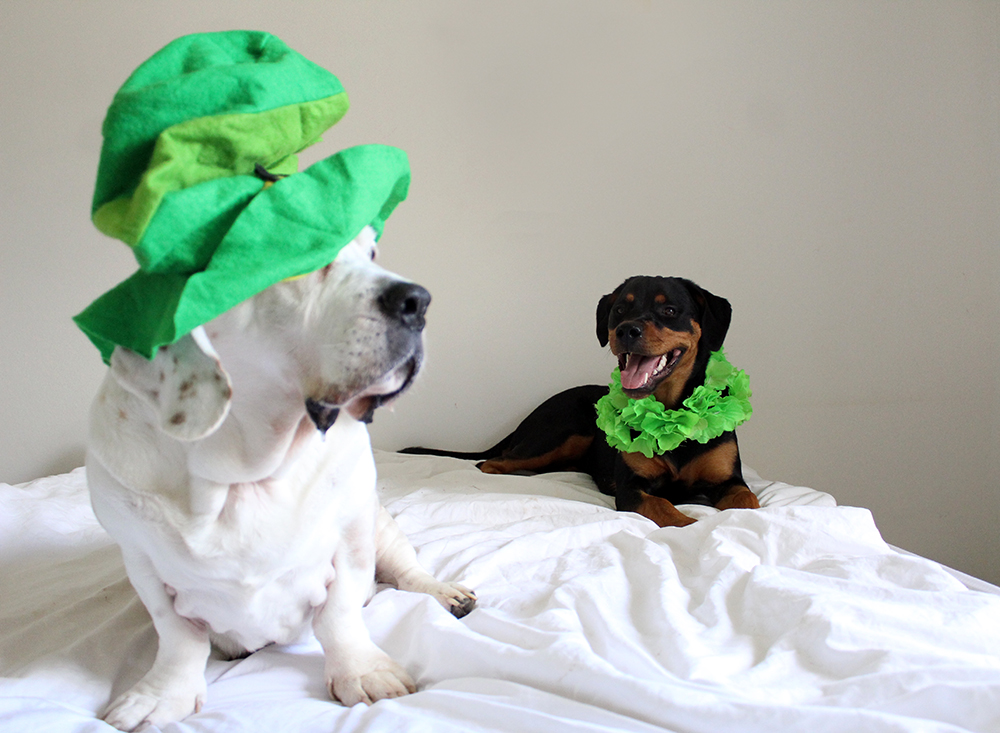
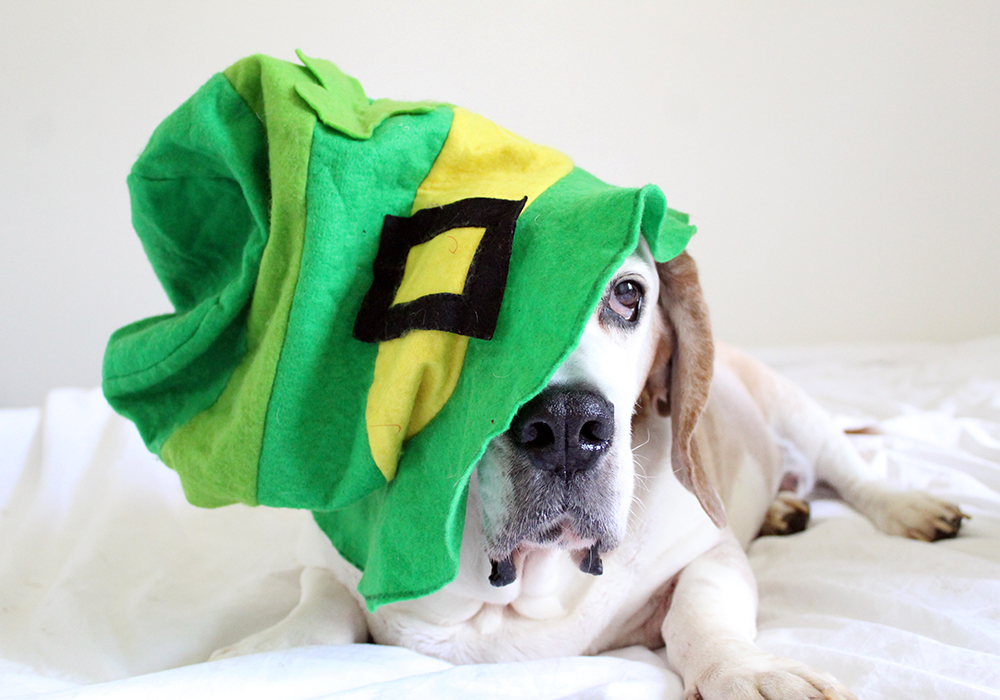
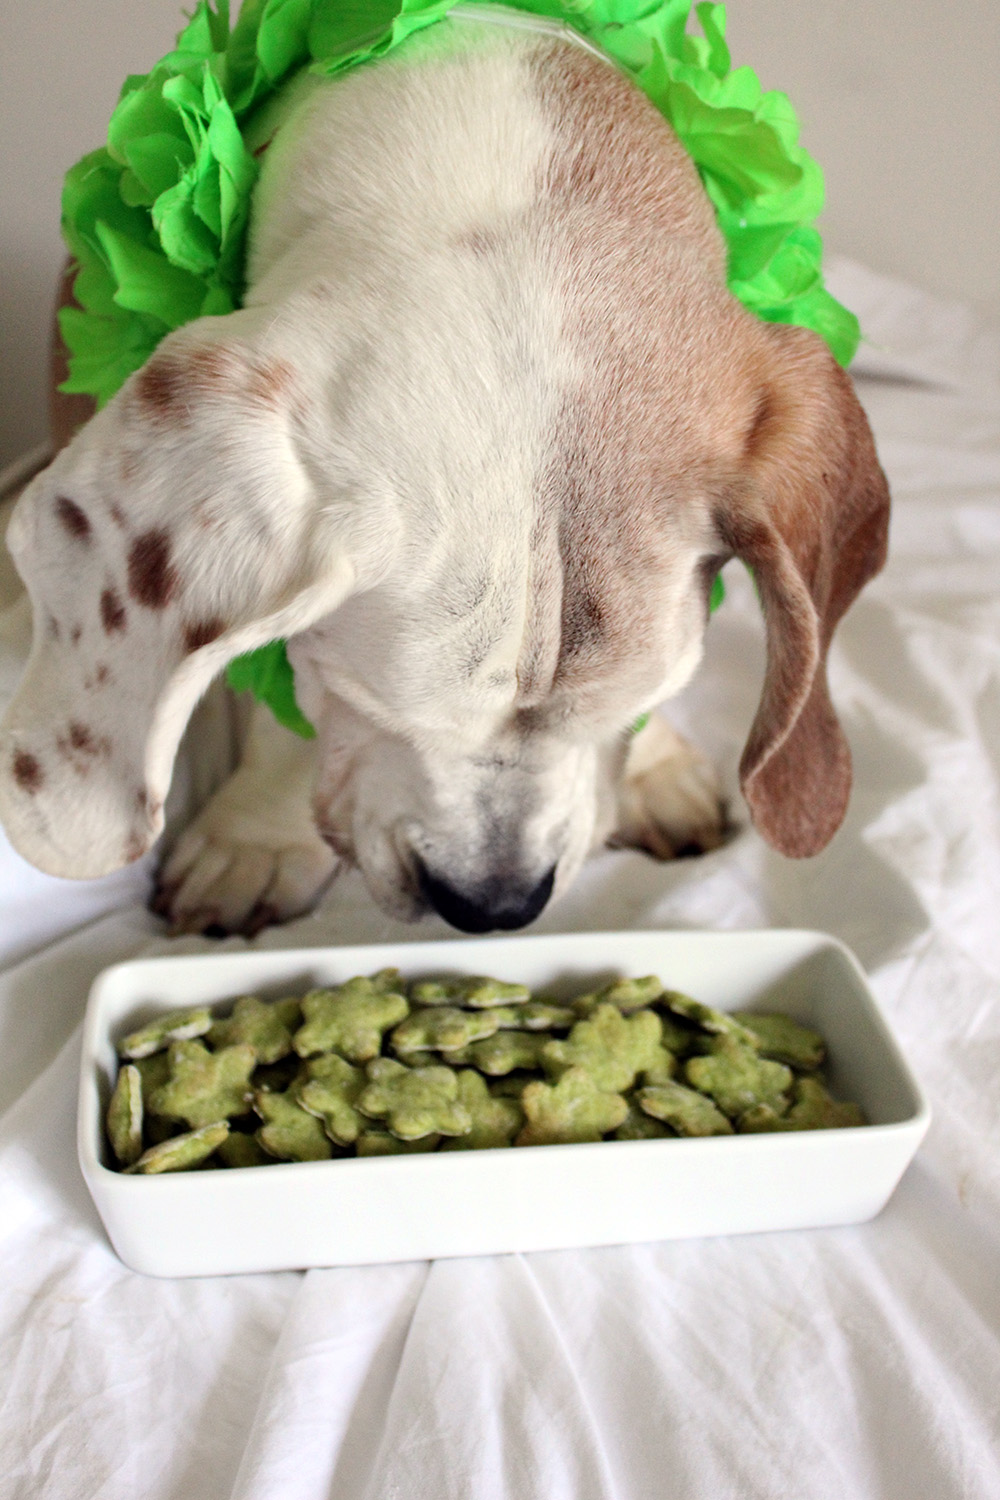
Happy St Patrick’s Day to you all. It just so happens that I decided to try a new recipe of treats for Oscar and Zara this week that are bright green so I thought it fitting to share the recipe with you on St Patricks Day. Not only are they super easy to make-less than an hour! But your pups will love them, unless they are as fussy as Oscar when it comes to trying new food groups-haha!! Somehow he knows exactly when I am up to something and his basset hound nose works overtime 😉

Zara couldn’t wait for the treats to cool down so she could be first in line to taste them. She nearly ate my fingers off, thats how good they are in her eyes. As for my little man Oscar, he sniffed them for about 10 seconds, took one into his mouth then decided he wasn’t sure of this new taste and spat it out again. Zara of course was there to vacuum it up, slobber coated and all!! I had to offer him a few which he turned his nose up at before he noticed that his sister was actually totally fine eating these new green things so maybe he should have a go too…. Now he loves them-success!!

Here is the recipe for my awesome green St Patricks Day doggy treats:

Ingredients

1 cup frozen peas thawed and blended to make a paste

1 egg

1 tbs coconut oil

1 cup wholewheat flour

Directions

Pre-heat your oven to 180 degrees. In a bowl mix together the pea paste, egg and coconut oil until combined. Add the flour and mix until a dough forms. If it’s too sticky simply add more flour, if it’s too dry simply add a drop of water. Once you have a perfect dough consistency, roll it out onto a floured surface. Using cute cookie cutters, cut out and place the treats on a greased baking tray. Bake in the oven for +-20 minutes or until cooked through and slightly golden. Not too much-you want to keep their bright green colour. Let the treats cool before allowing your pooch to tuck in! Store them in an airtight container for on hand treats.

I hope your pups enjoy this recipe as much as Zara and eventually Oscar does 🙂

Thank you for reading.

Facebooktwitterpinterestlinkedinby feather

Say Cheese…

I am by no means a professional photographer. In fact, I am such a newbie it’s frightening!
Watching Oscar grow-up and taking photographs of his every move, I have over 30 000 of him saved to my hard-drive-and no I am not exaggerating at all. Oscar came into my life thirteen years ago. There was no Facebook, Instagram or Snap Chat and my photography skills were less than desirable-haha!! Hence the reason I am a newbie with a new camera. But over the years photographing my soul mate growing up, our fun and lazy moments together has been amazing and I continue to capture those special moments of my baby boy.

Then we added baby Zara to our family. Who doesn’t love photographing a gorgeous fluffy puppy? Zara being Zara would pose only long enough for you to get one photo and then demand to do something fun like attack the camera. It took a lot of patience and care to get the cute puppy photos and moments I did capture. She is now eight months old and has had her fare share of thousands of photos taken. She is becoming more and more comfortable in front of the camera.

It’s all about getting that perfect photograph. But what is the perfect photograph? When photographing pets, you soon realise to accept any photo as the perfect one 😉 Of course there are pets out there that seem to listen and pose in any position with any prop for the camera… I have clearly not inherited those pets-haha! But I wouldn’t have it any other way, both Oscar and Zara make me work very hard to get a photograph I am happy with, a photo that’s worthy of sharing with the world.

So here are my top five tips for achieving the perfect photograph of your furry love…

Natural lighting.
It is always best to try and photograph your pup in daylight. There is no better flash than the sun. Wherever I choose to photograph Oscar or Zara, I always make sure it is a well lit area. Flash photography can often affect your desired look of a photo-and not in a good way. It can cause the dreaded ‘red eye’. White fur often looks washed out, and the flash can also scare your pet!

Add a prop or two.
Adding props incorporates so much fun to a photoshoot, especially with pets. It can be a chalkboard with a quirky quote, their favourite toy, funky hat, their cutest outfit, or simply their favourite bed. I love getting Oscar all dressed up for photoshoots. He on the other hand can think of a million other things he would rather be doing. Zara is new to the dressing up scene and she would rather attack the princess crown I would like her to wear-but it is a work in progress and we will get there.

Treats.
Now this I find is particularly important!! Oscar refuses to work unless he receives a treat for his good efforts. Of course this is cute, but it also means I need a load of homemade treats on hand. Zara very quickly caught on that when she sees the camera, it means “do what mom asks and I get a treat”.
Here is a yummy recipe that will get your pups attention:

Ingredients
1 apple-grated
1 banana-mashed up
1 egg
1/2 cup oats
1 tsp cinnamon
2 cups flour

Directions
Pre-heat your oven to 180 degrees. Mix together your apple and banana then add the egg. Add the oats, flour and cinnamon and mix together until a dough forms. Roll your dough out onto a floured surface and use cookie cutters to cut into cute biscuits. Place them onto a greased baking tray and bake in the oven for +-20 minutes or until cooked through and slightly golden. Remove from the oven and place them on a cooling rack to cool. Store the treats in an air tight container.

Studio vs Outdoor setting.
This is obviously a personal choice, however I recommend both! Oscar has done several professional photography photoshoots in a studio as well as photoshoots outdoors. I honestly cannot say which photos I adore more because I believe every photograph of my baby is a wonderful one! Being in a studio is a bit more formal and adding props is a must! Being outdoors allows Oscar to be a little more relaxed and enjoy his surroundings. Zara has not had a professional studio photoshoot before and perhaps I should book one for us all, but her natural outdoor photos that I have taken are wonderful. I absolutely love looking back and seeing the crazy moments with her tongue hanging out, or her flying through the air because she runs so fast! It is often the natural non-posed photo’s that turn out the best.

Your subject-of course.
Of course you need your pooches! I always like to bath Oscar and Zara the night before a big photoshoot to make sure they are looking their best. For our little mini-photoshoots that happen almost daily I just like to give them a quick wipe down and a nice brush. This always makes them feel extra special, like they know I am about to take photos of them.

All in all, I believe you can never have too many photographs of your furry loves! Remember it takes time, patience and a lot of love to get a posed photo. Enjoy capturing those special moments, after all “no one ever takes a photograph of something they want to forget- anonymous”

Follow us on Instagram for daily crazy fun moments of us all @stylish_paws

Thank you for reading.

Facebooktwitterpinterestlinkedinby feather

The wonders of coconut oil.

We all know how healthy coconut oil is for us humans, but did you know that as healthy as it is for us, it is for our furry loves? It has a wide variety of benefits and uses for our furry companions, including digestion support, fur conditioner, soothes skin irritations, quick energy booster, supports heathy weight, aids in bone and joint health, improves general skin health, and disinfects cuts, wounds and bites just to name a few. I’ll be honest, I am not a huge fan of using it in my cooking but Oscar on the other hand absolutely loves it! So here are a few ways your pooch can benefit from a little coconut oil each day…

Edited (88)

paw Skin and fur conditioner

We have all had skin irritations and rashes at some point in our lives, so we know exactly how itchy and sore they can be. When you notice your pup scratching and gnawing at his fur, try rubbing a handful of coconut oil onto his fur and give him a little massage to soothe his inflamed skin area. Coconut has great soothing properties to help ease skin irritations caused by dry skin, flea bites or just a general rash. Coconut oil works wonders on our own hair so why not treat your pups fur to a hydrating mask too. Simply bath him as usual and condition his fur with coconut oil instead of his usual pet conditioner. Gently massage the coconut oil into his skin-This is always Oscar’s favourite part of his bath regime. It is not necessary to rinse thoroughly but you can rinse slightly to get the greasy residue off. Your pooch will smell gorgeous too 🙂

paw Snout and paw protector

When your pups paws feel a little extra rough and tough, you can rub a small amount of coconut oil on them to soften them up. It will also heal any cuts he may have on his paws. You can also smear a small amount onto his snout when it looks a little dry and cracked (read all about Oscar’s schnoz and why your pups nose may be a little dry here: Oscar’s Schnoz).

paw A healthy coat

For a healthy and shiny coat, you can feed your furry love a small spoonful or two of coconut oil each day. You can mix it in with their kibble to make it extra delicious or you can make one of the yummy treat recipes below. Start with a teaspoon amount and slowly increase it to a tablespoon-depending on the size of your pup! If it upsets your pups tummy please don’t give him anymore. As a guideline, for a small pooch start with 1/4 teaspoon and slowly increase it over time to a full teaspoon. For a medium to large pup, start with a teaspoon and work your way up to a tablespoon.

paw Treats

Coconut oil drops

Ingredients

Organic coconut oil

Directions

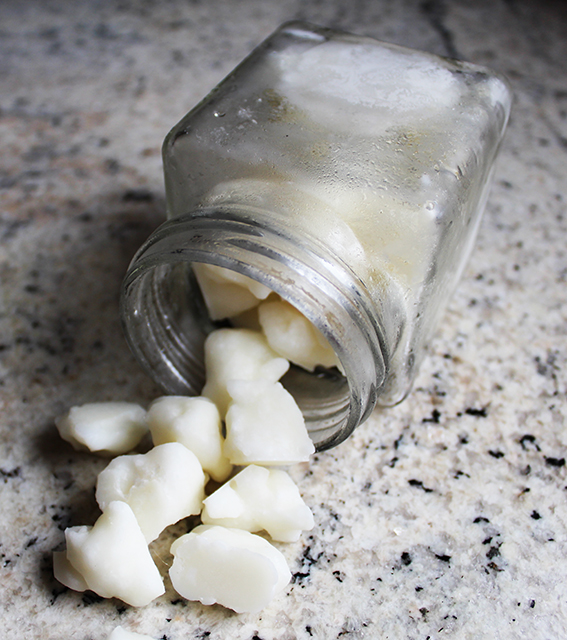
For this recipe, the coconut oil needs to be slightly hard, not a runny consistency. Scoop some organic coconut oil into a zip lock bag and seal it tightly. Line a baking tray or any tray with grease proof paper. Cut just the tip off the zip lock bag and squeeze dollops of the coconut oil onto the baking tray. Place them into the freezer for a few hours. Remove them and store the coconut drops in an airtight container or jar in the fridge or freezer.

coconut drops

Frozen peanut butter, banana and coconut pops

Ingredients

1 cup organic peanut butter

1 cup organic coconut oil

1 medium banana, mashed

Directions

Mix all the ingredients together in a mixing bowl. The softer the coconut oil and peanut butter, the easier it will be to combine. You can use a spoon or an electric beater. Once completely mixed, spoon the mixture into silicone ice trays. You can also make little drops like the above recipe if you would prefer. Simply place the mixture in the fridge for 10 minutes to harden slightly then follow the steps above. Place them in the freezer for a few hours. Store them in an air tight container or jar and keep them in the fridge or freezer.

peanut frozen

No bake peanut butter and coconut balls

Ingredients

1/3 cup coconut oil

2 tbs organic peanut butter

3 tbs apple sauce

2 cups oats

2 tsp honey

1 tsp vanilla extract

Sprinkle of cinnamon

Directions 

Mix together the coconut oil, peanut butter, apple sauce, honey, vanilla and cinnamon in a large mixing bowl, then add the oats. If the mixture is too stiff to work with then add a little extra apple sauce. If it is too sticky then add a little extra oats. Scoop the mixture into meatball-sized balls and place them onto a greased baking tray or plate. Freeze them for a few hours before letting your pup enjoy. Store them in an air tight container or jar and keep them in the fridge or freezer. Warning-These are seriously delicious and I love sharing these treats with Oscar 😉

peanut bombs

Enjoy the wonders of coconut oil!

Thank you for reading

signature

Facebooktwitterpinterestlinkedinby feather